DIY Upcycled T-Shirt Headbands: A Creative Guide
Why Use T-Shirts for Headbands?
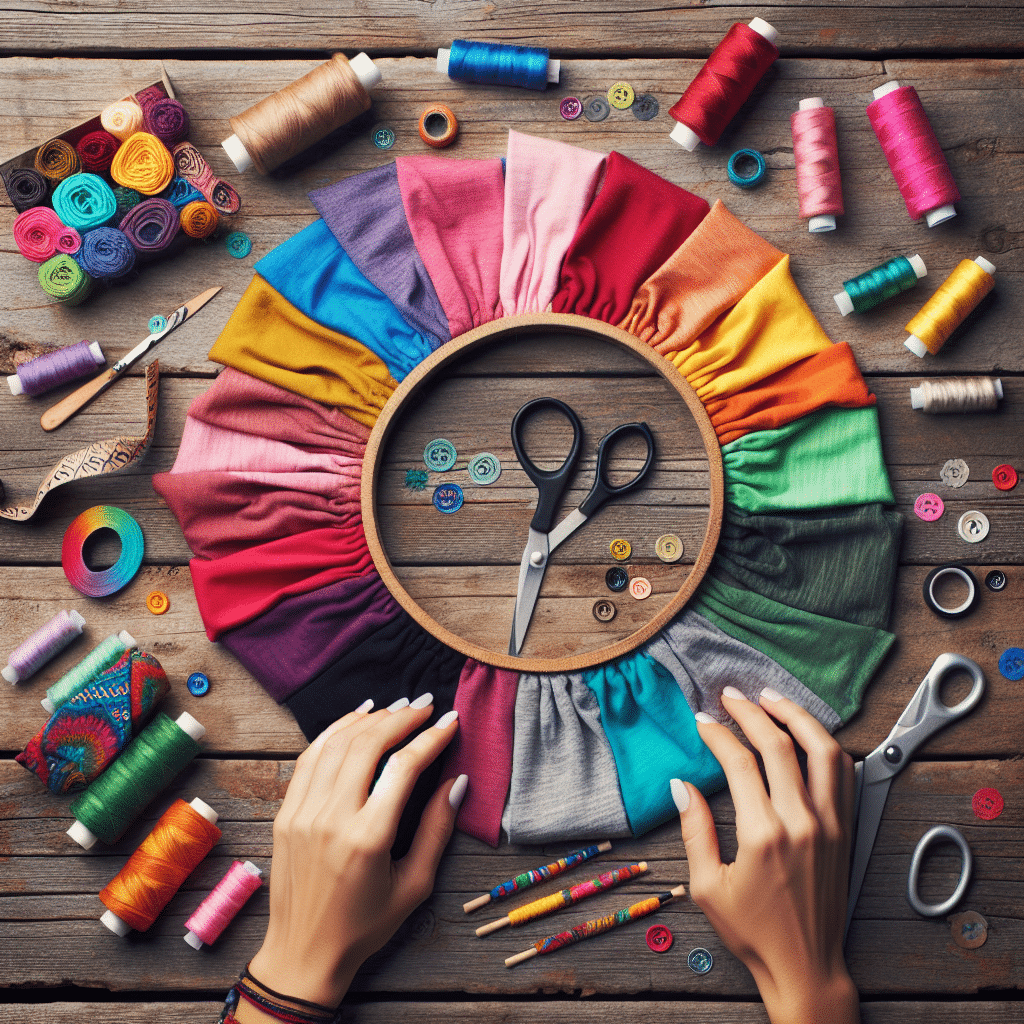
Upcycling is not just environmentally friendly; it allows for creativity and self-expression. T-shirts often end up in landfills, but with a pair of scissors and a little creativity, they can become stylish headbands. Not only do they serve a functional purpose, but they also make a fashion statement that can complement various outfits. Let’s explore the step-by-step process, materials required, and some design variations.
Materials Needed
To make your own upcycled t-shirt headbands, gather the following materials:
- Old T-shirts: Choose comfortable fabrics, preferably cotton or a blend. Look for shirts in colors and patterns you love.
- Scissors: A sharp pair of fabric scissors will ensure clean cuts.
- Measuring Tape or Ruler: For measuring the fabric.
- Fabric Chalk or Marker: To mark cutting lines on the fabric.
- Sewing Machine or Needle and Thread (optional): If you prefer a more durable option, though many designs are no-sew.
- Pins (optional): To hold the fabric in place while cutting or sewing.
Step-by-Step Instructions
Step 1: Select Your T-Shirt
Choose a soft, worn-out t-shirt that complements your style. If you’re feeling adventurous, try a patterned shirt for a funky headband. Ensure the shirt is clean and free from any holes that would compromise your design.
Step 2: Prepare the T-Shirt
Lay the t-shirt flat on a clean surface. If the t-shirt has a print, make sure to cut from the back of the shirt unless you want the print on your headband.
Step 3: Measure and Cut
-
Decide on the Width: For a standard headband, aim for a width of about 2-4 inches. If you’d like a thinner band, adjust accordingly.
-
Cut the Fabric: Using the fabric chalk or marker, mark a straight line from one side of the t-shirt to the other. Cut along this line. You will need to cut a strip that is about 19-23 inches long, depending on your head size and how much stretch you want.
-
Stretch the Fabric: Tug gently on the strip you’ve cut. This will create a seamless, rolled edge and will help the fabric curl, making it softer against your skin.
Step 4: Create the Headband
Method 1: No-Sew Tie Headband
-
Create a Loop: Take the long strip of fabric and tie it in a knot. Ensure it’s tight enough to stay secure.
-
Adjust for Comfort: Test the size around your head and adjust the knot until it feels comfortable, ensuring it’s snug but not overly tight.
Method 2: Sew Headband
-
Overlap the Ends: Place the ends of the fabric strip overlapping each other by approximately 2-3 inches.
-
Sew the Ends Together: If you choose to sew, use a straight stitch to secure the ends together. Alternatively, you can use a zigzag stitch for added stretchability.
-
Turn Inside Out: If you want a seamless look, turn the fabric tube inside out so that the seams are hidden.
-
Finish the Edges: If you snowed, secure any raw edges with a zigzag stitch or pinking shears to prevent fraying.
Design Variations
Braided Headband
-
Cut Three Strips: Instead of one strip, cut three strips from the t-shirt about 1-2 inches wide and 20-25 inches long.
-
Braid the Strips: Braid them together and tie the ends. This creates a textured, stylish headband.
Knotted Headband
-
Make a Larger Strip: Cut a long strip, roughly 3-4 inches wide and 24-30 inches long.
-
Twist and Knot: Twist the fabric in the center, lay it across your forehead, and tie the ends at the base of your neck.
Flower Accent Headband
-
Create Fabric Flowers: Cut smaller circles from the t-shirt or other fabrics and layer them to create a flower.
-
Attach to Base: Sew or glue the flower accent onto the headband for an added flair.
Care Instructions
To maintain the quality of your upcycled t-shirt headbands, follow these simple care instructions:
- Hand Wash: To avoid shrinking or damaging the fabric, hand wash with cold water and a mild detergent.
- Air Dry: Lay flat to dry to maintain shape and elasticity.
- Store Properly: Keep them in a drawer or hang them on a hook to avoid stretching.
Benefits of Upcycling
- Sustainability: Reduces textile waste and the environmental footprint associated with new fabric production.
- Cost-Effective: Utilize items you already own, saving money in the process.
- Personalization: Express your individual style through unique designs and patterns.
Tips for Success
- Choose the Right Fabric: Stretchy cotton or jersey knit fabrics are ideal for headbands, ensuring comfort and fit.
- Experiment with Colors: Don’t hesitate to mix and match different colors and patterns for a vibrant headband collection.
- Involve Friends and Family: Host a DIY night and create headbands together for a fun social activity.
A Sustainable Fashion Statement
DIY upcycled t-shirt headbands offer an excellent avenue for expressing your creativity while positively impacting the environment. By following these easy steps, anyone can create stylish, functional accessories that are uniquely theirs.