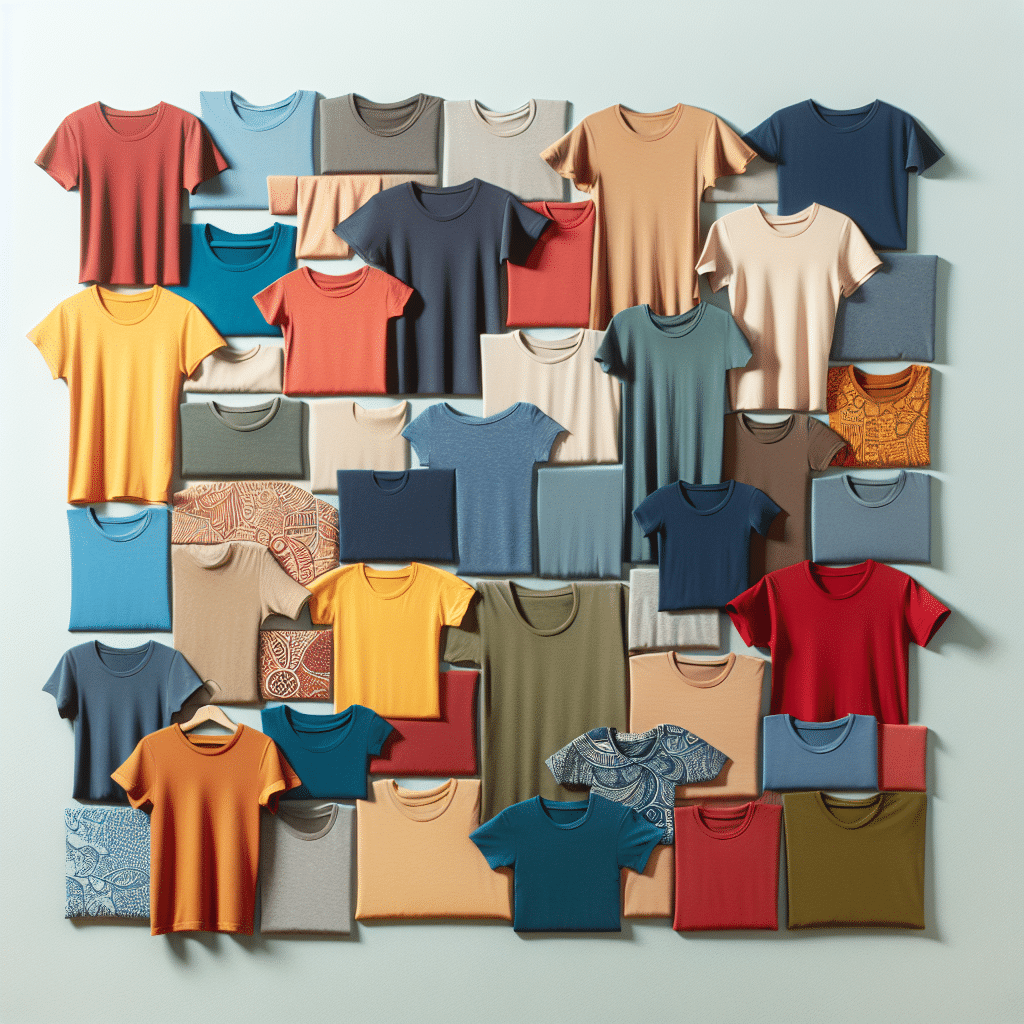
Turning T-Shirts into Wall Art: A Creative Guide
1. Why Use T-Shirts for Wall Art?
Creating wall art from old t-shirts is an eco-friendly way to repurpose textiles that hold sentimental value. Whether it’s a favorite concert tee or a travel souvenir, transforming these shirts can evoke memories and personalize your space while reducing waste. This approach not only highlights your creativity but also contributes to a sustainable lifestyle.
2. Choosing the Right T-Shirts
Selecting the right t-shirts is crucial for your project. Consider tees with vibrant graphics, unique patterns, or meaningful text. Some popular options include:
- Band Tees: They carry a story and visual flair.
- Travel Souvenirs: Shirts from different destinations reflect your adventures.
- Family Reunion or Event Tees: These pieces commemorate special occasions.
Make sure the t-shirts are clean and free of significant wear and tear.
3. Preparing Your Shirts
Preparation is key to achieving successful wall art. Follow these steps:
- Wash and Iron: Keep the shirts clean and wrinkle-free for an appealing presentation.
- Cutting: Use fabric scissors to cut the shirts into desired shapes. Common shapes include squares, rectangles, or even abstract designs. Cutting templates can help maintain uniformity.
4. Methods of Displaying T-Shirt Art
There are various ways to display your cut shirts to create visually striking wall art. Here are some popular methods:
4.1 Framing
Framing is a traditional method that adds a polished look. Choose frames that complement your room’s decor. Here’s how to do it:
- Select Frames: Use shadow boxes or standard frames depending on thickness.
- Background Choice: Choose a contrasting background for the frame – a simple white or a bold color can enhance the t-shirt design.
- Mounting: Use fabric glue or double-sided tape to secure the t-shirt within the frame. This ensures it stays in place without damaging the fabric.
4.2 Canvas Stretching
For a more artsy presentation, canvas stretching is ideal. This method allows the fabric to be taut, enhancing the artwork’s visual impact.
- Canvas Preparation: Buy canvas stretchers from an arts and crafts store.
- Attach the T-Shirt: Lay the t-shirt over the stretched canvas and staple it at the back, pulling it tight as you work around the edges.
- Final Touch: Trim any excess fabric to give it a clean look.
4.3 T-Shirt Quilts
Creating a t-shirt quilt is a fantastic way to combine multiple shirts into a single art piece. This method suits those who prefer a cozy, textured look.
- Cut Squares: Cut each t-shirt into equal squares (typically 12×12 inches).
- Layout Design: Arrange the squares on a flat surface until satisfied with the design.
- Sewing: Join the squares using a sewing machine, adding batting and a backing fabric for added warmth and texture.
4.4 Collage Boards
For a fun and eclectic design, consider a collage board. This is perfect for showcasing multiple shirts without the commitment of permanent alterations.
- Base Preparation: Use a large corkboard or poster board as the base.
- Placement: Arrange the t-shirt pieces in a visually appealing layout, mixing shapes and sizes.
- Adhesion: Use fabric glue or sewing pins to adhere fabrics to the board.
5. Decorative Elements to Enhance Your T-Shirt Art
Incorporate additional decorative elements to take your wall art to the next level.
- Frames: Use coordinating or contrasting frames to create depth.
- LED Lights: String lights or small LED backlights can illuminate your art.
- Accent Pieces: Combine t-shirt art with other forms of art, such as photographs, paintings, or three-dimensional objects.
6. Caring for T-Shirt Wall Art
To maintain the quality of your t-shirt wall art, consider these tips:
- Avoid Direct Sunlight: UV rays can fade the colors of the fabric over time.
- Dust Regularly: Light dusting with a soft cloth or a vacuum with a brush attachment can help keep your art clean.
- Check for Damage: Regularly inspect the fabric for signs of wear, and ensure frames are secure.
7. Additional Creative Ideas
Explore various creative avenues to make your t-shirt wall art even more unique.
- Use Patches: Add embroidered patches or other embellishments over printed designs to enhance texture.
- Incorporate Mixed Media: Combine your t-shirt art with paint, photos, or other textiles for a mixed-media wall piece.
- Change It Up: Create seasonal t-shirt art displays that can be easily swapped out for different times of the year.
8. Exhibition and Gifting
Showcase your t-shirt wall art in your home or gift it to loved ones. Create a designated “art wall” where your work can shine, or consider gifting special pieces, such as:
- Customized Art for Friends: Turn memories into gifts by creating art from their favorite tees.
- Corporate Decor: Use t-shirt art in a professional environment to evoke team spirit or brand identity through company t-shirts.
9. Online Inspiration and Resources
To find inspiration or learn more techniques, explore online platforms like Pinterest or DIY blogs. Tutorials and user-generated content can provide fresh ideas and innovative techniques that elevate your project. Websites like YouTube also offer video guides for visual learners.
10. Conclusion
Repurposing t-shirts into wall art is a creative, eco-friendly endeavor that adds a personal touch to your space. The possibilities are endless, from framing individual pieces to creating elaborate quilts. Dive into your project armed with ideas and style, turning your memories into captivating décor that tells your story.
