From Chair to Shelf: Upcycling Ideas for Your Home
Upcycling Old Furniture: Transforming Chairs Into Shelves
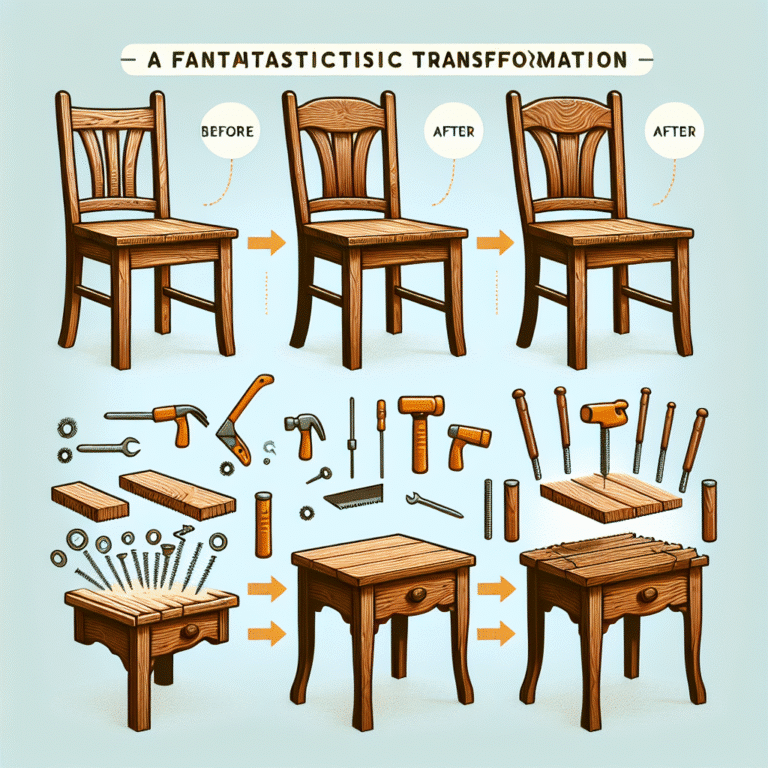
Upcycling is an innovative and sustainable way to breathe new life into old furniture. This article explores creative methods to transform old chairs into beautiful shelves, supporting both environmental consciousness and unique home decor. Each idea highlights not only the aesthetic benefits but also the practicality of upcycled pieces.
1. Rustic Chair Shelf
Materials Needed:
- Old wooden chair
- Sandpaper
- Wood stain (optional)
- Brackets and screws for wall mounting
Instructions:
- Preparation: Start by sanding down the chair to remove any rough edges. For a more polished look, you can apply wood stain or paint to shore up its aesthetic appeal.
- Disassembly: Remove any extraneous parts of the chair that do not contribute to your shelving goals, like a cushion or decorative backrest.
- Mounting: Securely attach the chair’s seat to the wall with brackets. Its legs can be cut short to create a floating shelf effect or left intact for a more traditional shelf look.
- Style: Decorate the shelf with books, small plants, or decorative items to enhance the rustic charm.
This method adds an eclectic style and a touch of nostalgia to your home decor. The sturdy chair base provides unique character while effectively serving its new purpose.
2. Chair Back Wall Shelf
Materials Needed:
- Old chair (preferably with a decorative backrest)
- Saw
- Wood glue
- Wall mounting hardware
Instructions:
- Select the Chair: Choose a chair with an interesting backrest that can be visually appealing.
- Disassemble: Carefully cut off the backrest from the seat portion. Retain the seat if you plan to utilize it in another project.
- Shelf Creation: Attach a plank of wood to the backrest using wood glue. Ensure that this rustic shelf is robust enough to hold items.
- Installation: Install the backrest-shelf to the wall using strong mounting hardware.
Ideal for displaying pictures, candles, or decorative boxes, this upcycled shelf imparts a vintage vibe and a personalized touch.
3. Mini Chair Shelves
Materials Needed:
- Small old chairs
- Sandpaper
- Paint or wood finish
- Brackets (optional)
Instructions:
- Select Chairs: Hunt for miniature or child-sized chairs.
- Preparation: Sand and finish as desired. Bright, vibrant colors can offer playful decor or you can opt for neutral tones for sophistication.
- Mounting: Use brackets to secure them to the wall, or simply place them on existing surfaces.
- Display: Use these mini shelves for trinkets or kids’ books, adding charm to sleep areas or playrooms.
These mini chair shelves showcase personality, allowing you to create a whimsical atmosphere while being functional.
4. Ladder-like Chair Shelves
Materials Needed:
- Two old wooden chairs
- Saw
- Sandpaper
- Wood stain (for a cohesive look)
- Mounting brackets
Instructions:
- Preparation: Sand the chairs down and prep for staining to unify the look.
- Configure: Position the chairs back-to-back to form a ladder-like shelf structure.
- Connection: Secure the two chairs together with screws or wood glue for stability.
- Mounting: Attach the configuration to the wall.
This ladder-style shelf serves as a striking art piece while offering ample storage space for books, movies, and more.
5. Chair Leg Shelves
Materials Needed:
- Old chair (legs are essential)
- Planks of wood for shelving
- Screws
- Sandpaper
- Wood treatment
Instructions:
- Remove Legs: Carefully disassemble the chair to extract the legs, preserving the integrity of the wood.
- Shelf Creation: Attach wide wooden planks to the top of each chair leg to create functional shelves, allowing adequate spacing between each piece.
- Installation: Secure these legs and shelves to the wall, ensuring they are level and properly aligned.
Chair leg shelves create layered, dimensional design elements that introduce artistic flair to any room.
6. Swivel Chair Shelf
Materials Needed:
- Swivel chair or office chair with a sturdy base
- Wooden or metal shelf
- Screws and wall mounting hardware
Instructions:
- Select a Sturdy Base: Choose a swivel chair that’s still functional.
- Refurbish: Sand and, if desired, paint the chair’s body. This modernization can help it fit better within modern design aesthetics.
- Mounting: Attach the new shelf directly above or to the side of the rotating base, ensuring it remains balanced.
- Functionality: The dynamic nature allows for an effortlessly accessible shelf ideal for workspaces or study nooks.
The swivel chair shelf combines functionality with novel aesthetics, creating a mobile, customizable space.
7. Futuristic Chair Shelf
Materials Needed:
- Old vinyl or metal chair
- Cutting tools
- Glass or acrylic sheets
- Mounting hardware
Instructions:
- Preparation: Choose a chair with sleek lines and minimal aesthetic—often found in modern furniture.
- Dismantle: Remove legs or any extraneous components to ensure a clean look.
- Shelf Configuration: Attach durable glass or acrylic sheets to its frame, creating transparent shelving.
- Mounting: Secure the structure on the wall for display.
This aesthetic promotes modernism, providing clean lines that enhance contemporary interiors, while showcasing décor against a transparent backdrop.
8. Vintage Chair Shelf
Materials Needed:
- Antique chair
- Sandpaper
- Stain or paint
- Decorative metal brackets
Instructions:
- Refurbishment: Carefully restore the chair by sanding, then applying a suitable stain to highlight its vintage character.
- Convert: Without altering the chair beyond recognition, cut out sections of the seat to hold shelves.
- Brackets Application: Securely install metal brackets underneath introduced shelves.
- Decor: Style the shelves with vintage items or personal memorabilia, creating a beautiful homage to the past.
Serving as a creative accent piece, this vintage chair shelf promotes nostalgia while retaining functional utility.
9. Easy Chair to Shelf Transition
Materials Needed:
- Simple wooden chair
- Sandpaper
- Two wooden boards for shelves
- Screws, brackets, and other mounting supplies
Instructions:
- Prep: Lightly sand the chair for a smooth finish before painting or staining.
- Modify: Simply cut out the seat portion excluding the backrest to create a top shelf, then mount the board to the backrest.
- Adding Shelves: Insert pre-cut wooden boards as necessary to transform the chair into a shelving unit.
- Functionality: Let the chair serve as both an artistically impactful decor piece and a functional space-saver.
This idea emphasizes simplicity and ease, making upcycling accessible for everyone.
10. Artistic Chair Shelf
Materials Needed:
- Old artistic chair with unique shape
- Wood or metal for shelves
- Strong adhesive or screws
Instructions:
- Select Your Piece: A chair with dramatic curves or carvings can serve as an art piece.
- Planning: Use wooden planks or metal to place across for shelving, complementing the chair’s unique attributes.
- Installation: Ensure heavy-duty mounting since this shelf may carry intricate decor items.
By embracing creative flair in your upcycling project, you can transform chairs into shelf displays that turn functional purposes back into works of art.
Unique Shelving Built from Upcycled Chairs
Transforming old chairs into unique shelves encourages creativity while promoting sustainability. Each project offers diverse styles, from rustic charm to sleek modernity, allowing you to engage in eco-friendly practices while enhancing your living space.
Consider your home’s aesthetic and choose a method that appeals to your creativity. With these ideas, the potential of upcycling is boundless, enabling you to craft personalized shelves that echo your unique style while celebrating sustainability.