diy rustic home decor from recycled wood
Embracing Rustic Charm: DIY Rustic Home Decor from Recycled Wood
Understanding Rustic Aesthetics
Rustic decor brings a natural, warm ambiance into your home, often characterized by its earthy tones, organic materials, and a vintage feel. Utilizing recycled wood for your DIY projects not only enhances this aesthetic but also promotes sustainability by repurposing materials. From furniture to wall art, recycled wood can be transformed into a variety of decor elements that make your space unique and inviting.
Selecting the Right Recycled Wood
Before diving into your DIY projects, it’s essential to choose the right type of recycled wood. Pallets, barn wood, and old furniture pieces can all serve as excellent sources. Here are some tips for selecting wood:
-
Quality: Look for wood that is sturdy and free of rot or significant damage. Inspect for nails, screws, and any protruding parts.
-
Type: Different woods have varied grains and characteristics. Oak, pine, and cedar are popular choices due to their durability and lovely finishes.
-
Finish: For a rustic look, avoid overly polished or treated woods. Reclaimed wood often has an aged patina that adds to its charm.
DIY Projects to Create Rustic Decor
1. Rustic Wooden Shelves
Creating wooden shelves is a straightforward DIY project that adds storage and visual appeal to any room.
Materials Needed:
- Recycled wood planks (at least 2 inches wide)
- Brackets or L-brackets
- Sandpaper
- Wood stain or sealant (optional)
Steps:
- Cut the wood: Decide on the shelf dimensions based on your space. Cut the planks accordingly.
- Sand the edges: Use sandpaper to smooth any rough edges and surfaces, retaining a bit of texture to preserve the rustic feel.
- Finish the wood: Apply wood stain or leave it natural. A clear sealant can protect the wood while allowing its natural beauty to shine.
- Install: Secure the brackets to the wall, then attach the shelves to the brackets.
2. Barn Door Decor
A sliding barn door can add a stunning focal point to any room, from a bedroom to a living area.
Materials Needed:
- Old barn wood or similar reclaimed wood
- Barn door hardware kit
- Wood screws
- Sandpaper
Steps:
- Measure the doorway: Determine the size of your door based on the existing space.
- Cut wood pieces: Using old barn wood, cut the pieces to size. Assemble them using screws for added stability.
- Sand and finish: Smooth edges and consider applying a protective finish to enhance durability.
- Install hardware: Attach the barn door hardware for sliding functionality, ensuring everything is level.
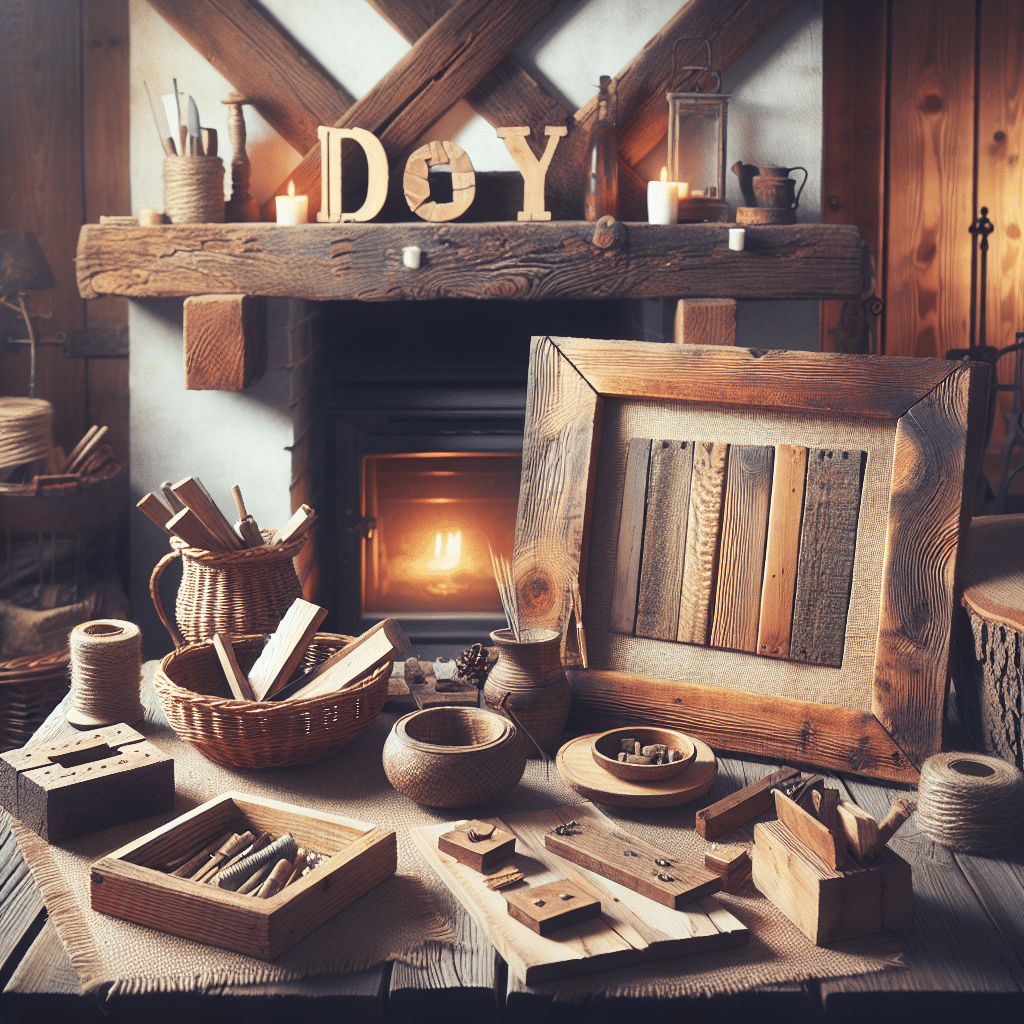
3. Rustic Picture Frames
Picture frames are an easy way to showcase memories while enhancing your rustic style.
Materials Needed:
- Thin recycled wood strips
- Wood glue or nails
- Saw
- Sandpaper
Steps:
- Measure and cut: Determine the dimensions for your frame. Cut the strips for the outer edges and the inner edges.
- Assemble the frame: Lay out the strips and glue or nail them together, ensuring they fit perfectly.
- Sand the edges: Smooth out any rough spots while keeping the rustic look.
- Add a backing: Use cardboard or thin plywood to secure pictures in place.
4. Wooden Planters
Elevate your indoor or outdoor plants with handcrafted wooden planters.
Materials Needed:
- Recycled wood boards
- Wood screws or nails
- Drill
- Sandpaper
Steps:
- Plan your design: Decide on the size and shape of your planters. Rectangular or square designs are common.
- Cut the wood: Use a saw to cut the boards into the desired sizes.
- Assemble: Join the boards using screws to form a box shape. Ensure there are drainage holes at the bottom.
- Finish and sand: Smooth the surfaces and apply a wood treatment for moisture resistance.
5. Rustic Furniture
Building rustic furniture from recycled wood can be a rewarding challenge and a showstopper in your space.
Materials Needed:
- Reclaimed wood planks for tabletops or chairs
- Wood glue
- Wood screws
- Drill
- Sandpaper or sander
Steps:
- Design your furniture: Sketch your desired piece, keeping measurements in mind.
- Select wood types: Choose various pieces to achieve a mixed-material look.
- Build the structure: Start with a sturdy base, such as legs or supports, and then attach your tabletops or seats.
- Sand and finish: Smooth features but retain some rustic charm with imperfections.
Styling With Rustic Decor
Once your DIY projects are completed, arranging them thoughtfully can enhance their visual impact.
- Mix and Match: Combine different materials—burlap, metal, and fabrics with your wooden pieces to create texture.
- Layering: Use various heights and depths when placing decor elements on shelves or tables to create an engaging visual flow.
- Nature Elements: Incorporate natural materials like stone or greenery to bolster the rustic theme.
Maintenance for Longevity
To keep your rustic decor looking fresh:
- Regular dusting: Use a soft cloth to remove dust regularly.
- Reapply finishes: Depending on wear, you may need to reapply protective finishes periodically.
- Inspect for damage: Check for any signs of wear, and repair as necessary to preserve the aesthetic and functionality of your pieces.
By transforming recycled wood into beautiful decor, you not only embellish your home with unique craftsmanship but also embrace sustainable living. Each piece tells a story, contributing charm and warmth to your living space. The beauty of DIY lies in the process and the personalized touch it offers, making your home an authentic reflection of your style.


