DIY Seat Cushions for Upcycled Wooden Chairs
DIY Seat Cushions for Upcycled Wooden Chairs
Materials Needed for DIY Seat Cushions
To begin your DIY project, gather the following essential materials:
- Upholstery Fabric: Choose a durable fabric that complements your decor. Options include cotton, linen, or outdoor fabric for extra durability.
- Foam Cushion: Foam comes in various thicknesses; 2-4 inches is ideal for comfort. Opt for high-density foam for better support.
- Batting: Polyester batting softens the edges of the cushion and adds comfort. This layer is optional but recommended.
- Staple Gun and Staples: Used to attach fabric to the cushion base.
- Scissors and Fabric Cutter: For precise cutting of fabric and foam.
- Measuring Tape: Ensures accurate measurements for your seat cushions.
- Sewing Machine (Optional): For those who prefer a sewn cushion cover.
- Pencil or Fabric Marking Tool: To mark cutting lines.
- Heavy-Duty Thread: Strong enough for the upholstery fabric.
Step-by-Step Instructions to Create DIY Seat Cushions
-
Measuring the Chair Seat
Measure the dimensions of your wooden chair’s seat. i.e., length, width, and depth. Ensure accuracy to prevent any fitting issues later on.
-
Cutting Foam and Fabric
Using your measurements, cut the foam with scissors or an electric knife for a cleaner edge. Cut the upholstery fabric larger than your foam by about 2 inches on all sides. This extra allowance will ensure enough fabric to wrap around the foam securely.
-
Optional: Add Batting
Lay the foam flat, then place batting over the top. Cut batting to match the foam dimensions. This extra layer provides a cushier feel.
-
Assembling the Cushion Package
Stack the foam on a flat surface, followed by the batting if using it. Then, place the fabric right-side down, positioning the foam (and batting) in the center.
-
Wrapping the Fabric
Bring the edges of the fabric over the foam, ensuring that all corners are neatly folded. Pull the fabric tightly to prevent wrinkles before securing it.
-
Stapling the Fabric
Start stapling one side in the middle and work your way towards the corners, adjusting the fabric as needed. Ensure that you pull the fabric taut when stapling for a professional finish.
-
Finishing the Corners
For neat corners, fold the fabric like you’re wrapping a present. Staple firmly to secure. Ensure the edges are smooth and well-finished, and trim any excess fabric if necessary.
-
Sewing the Pattern (Optional)
If you prefer a sewn finish, instead of stapling, pin the fabric securely around the foam, and sew along the edges, leaving a small opening to insert fluff. Once filled, sew the opening closes.
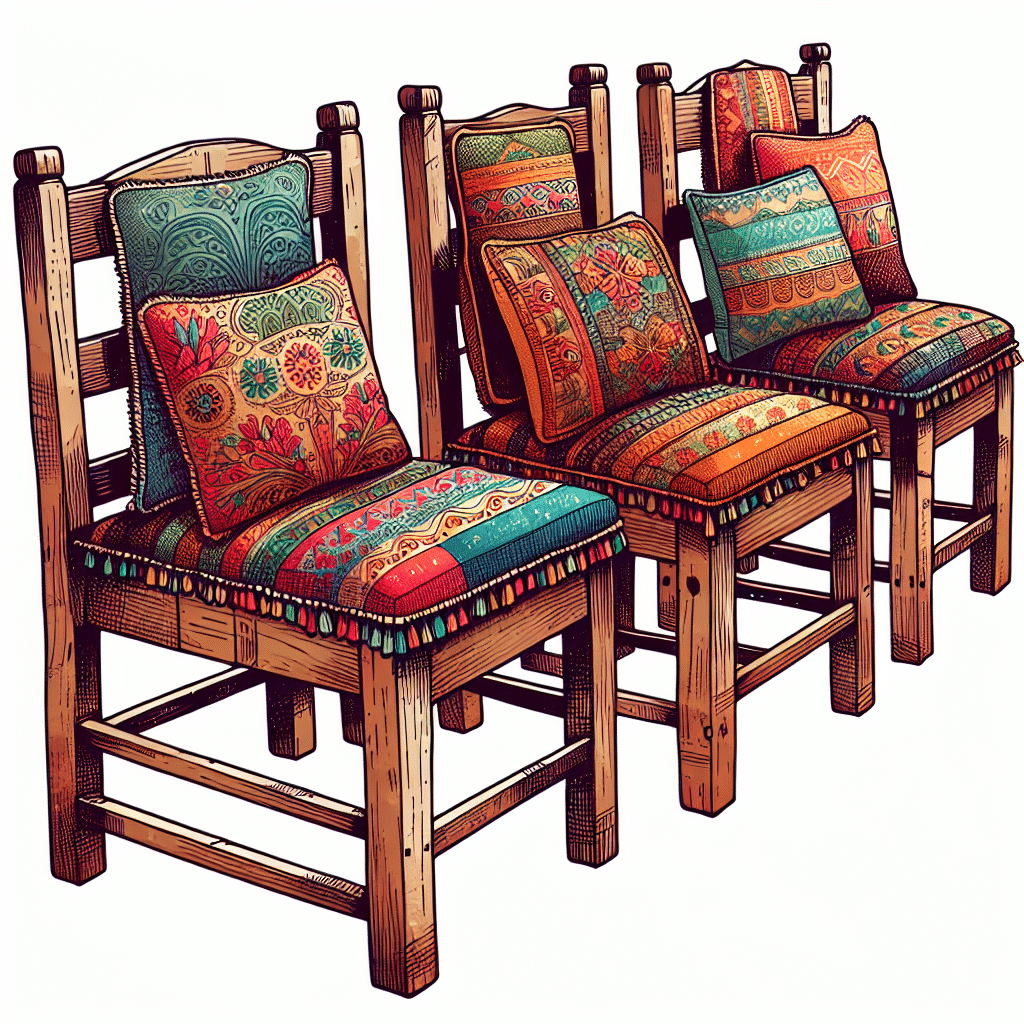
Design Ideas for Your Cushions
-
Contrast Fabrics: Use two different, complementary fabrics for the top and bottom for a chic look. This technique allows you to easily flip the cushion.
-
Patterns and Textures: Consider floral prints, geometric patterns, or textured materials to add an artistic flair.
-
Colors That Pop: Brighter colors add vibrance to a space, while muted tones can create a calming atmosphere.
-
Personalized Touches: Embroider initials or designs on the fabric or use fabric paints for personalization.
Care and Maintenance of DIY Seat Cushions
-
Regular Vacuuming: Use a handheld vacuum to remove dust and crumbs.
-
Spot Cleaning: For stains, use a damp cloth and mild soap to clean the area. Avoid soaking the fabric to prevent water damage.
-
Sunlight Control: Place cushions away from direct sunlight to prevent fading over time.
-
Removable Covers: Consider making cushion covers removable for easy washing. Utilize a zipper or Velcro for accessibility.
Upcycling Wooden Chairs
Utilize upcycled wooden chairs for a unique and sustainable approach to furniture. Not only does it help the environment, but it gives new life to old furniture.
-
Sand and Stain: Before using any wooden chair for your cushions, sand and refinish to ensure a smooth surface. Choose a stain that complements your cushion fabric.
-
Repairing Damage: Fix any scratches or chips with wood filler, sand them smooth, and apply a finish coat for a polished look.
-
Functional and Stylish: With freshly upholstered cushions, upcycled chairs become functional focal points in your living space, adding character and charm.
-
Mix and Match: Combine various chair styles with different cushion designs for an eclectic yet cohesive look.
Tips for a Successful Upholstery Project
- Pre-wash your fabric to prevent shrinkage after the cushion is complete.
- Always double-check measurements to avoid wasted materials.
- Don’t rush the stapling process; take your time for an even finish.
- If uncertain about any steps, refer to online tutorials or DIY workshops for visual guidance.
By creating your own DIY seat cushions for upcycled wooden chairs, you not only enhance the comfort and beauty of your furniture but also embrace a sustainable lifestyle. The blend of creativity, resourcefulness, and personal taste results in a truly unique and inviting seating experience for your home.