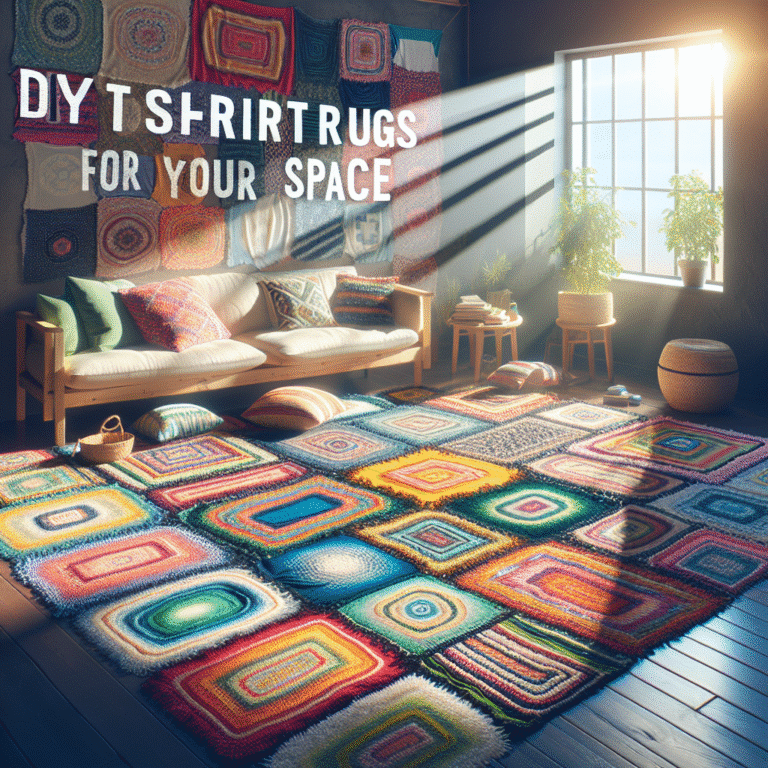
diy t-shirt quilts for cozy home decor
DIY T-Shirt Quilts: Transforming Memories into Cozy Home Decor
Understanding T-Shirt Quilts
T-shirt quilts have gained popularity as a creative way to repurpose old t-shirts that hold sentimental value. From college days to memorable events, t-shirts embody cherished memories. A DIY t-shirt quilt allows individuals to craft a unique home decor item that tells their personal story while providing warmth and nostalgia.
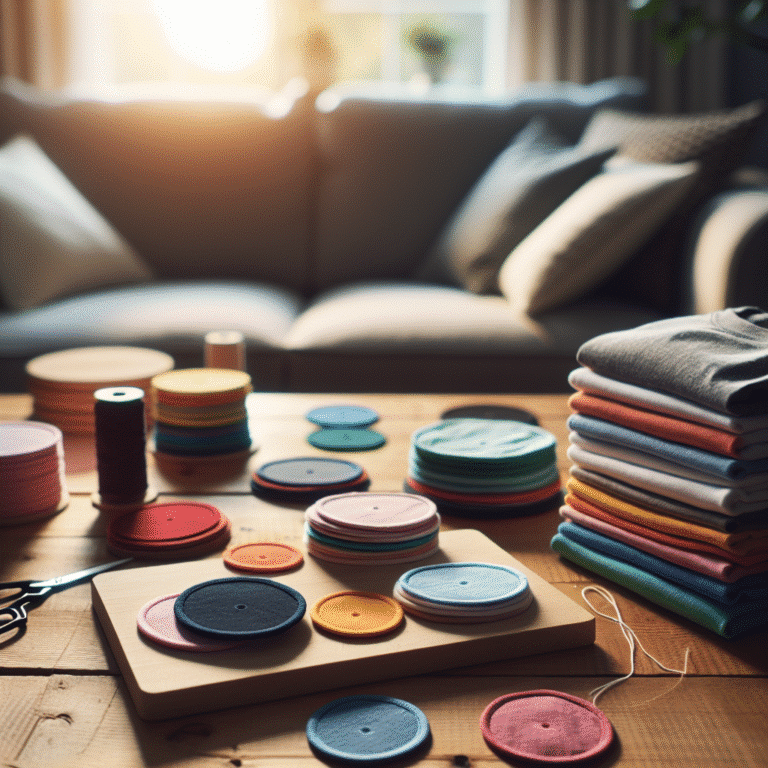
Materials Needed
- T-Shirts: Select a collection of t-shirts featuring various colors and designs.
- Backing Fabric: Choose a soft fabric that complements your t-shirts (cotton is a popular choice).
- Batting: Thin batting will add warmth and coziness to the quilt.
- Sewing Machine: A reliable machine fitted with a universal needle.
- Rotary Cutter & Mat: For precise cutting of fabric pieces.
- Quilt Ruler: To measure t-shirt squares accurately.
- Iron: For prepressing fabric and removing wrinkles.
- Thread: Select a thread color that matches or contrasts well with your t-shirts.
Preparing the T-Shirts
- Wash and Dry: Pre-wash your t-shirts to remove any chemicals that could affect the fabric.
- Cutting the Shirts: Lay the t-shirts flat and cut out the front designs. Aim for squares or rectangles of a uniform size, typically 12″ x 12″, although you can adjust based on your design preference.
- Stabilizing the Fabric: To avoid stretching, apply fusible interfacing to the back of each t-shirt piece. This will reinforce the fabric and keep your shapes intact.
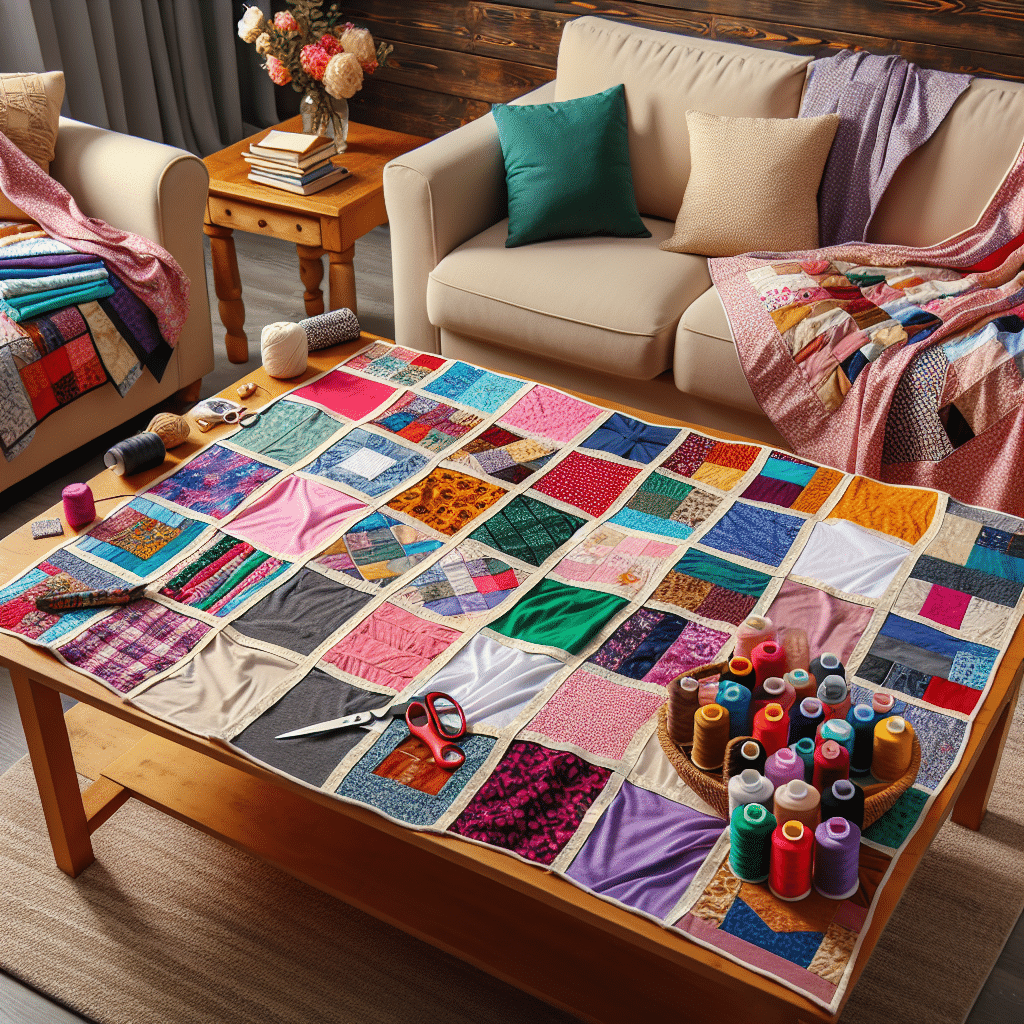
Designing the Quilt
- Layout Planning: Before sewing, lay out the t-shirt pieces on the floor or a large table to visualize your design. Consider alternating colors and designs for aesthetic appeal.
- Color Coordination: Think about how the colors interact with each other. A balanced layout will enhance the quilt’s visual harmony.
- Use of Sashing: Decide whether to use sashing (fabric strips between t-shirt squares) to add structure and separate designs.
Sewing the Quilt Top
- Assemble T-Shirt Squares: Start by sewing t-shirt squares together in rows. Use a ¼” seam allowance for a tidy finish.
- Joining Rows: Once the rows are complete, sew them together. Press seams open to reduce bulk, which ensures a flatter quilt surface.
- Add Sashing (if desired): If you’re incorporating sashing, sew it between squares and around the edges of the quilt top.
- Trim Edges: Ensure all edges are even and that the quilt top reaches your intended dimensions.
Preparing the Quilt Sandwich
- Layering: Place the backing fabric right side down, followed by the batting, and finally the quilt top right side up. Smooth out wrinkles while laying each layer.
- Pinning: Use safety pins or basting spray to secure the layers together. This prevents shifting while quilting.
Quilting Techniques
- Straight-Line Quilting: Opt for simple straight lines for a beginner-friendly approach. Use a walking foot for even stitching.
- Free-Motion Quilting: For the more adventurous, free-motion quilting allows for more creativity. This technique is best for experienced sewists who are comfortable maneuvering fabric under the needle.
- Quilting Patterns: Consider echo quilting around squares or creating geometric shapes to enhance the quilt’s visual intrigue.
Binding the Quilt
- Creating Binding: Cut strips of fabric for the binding, typically 2.5″ wide. Join the strips end-to-end to create a continuous length.
- Attaching Binding: Sew one side of the binding to the quilt front, then fold it over to the back and hand-stitch it down or sew it with a machine for a more modern look.
- Finishing: Ensure all corners are neatly mitered for a polished finish.
Caring for Your T-Shirt Quilt
- Washing: Wash the quilt in cold water on a gentle cycle to preserve its integrity.
- Drying: Air drying is recommended to maintain the quilt’s shape and avoid shrinkage. If using a dryer, opt for low heat.
- Storage: Store the quilt in a cool, dry place. Avoid damp environments to prevent mold and mildew.
Personalizing Your Quilt
- Embellishments: Consider adding embellishments such as patches, embroidery, or even fabric paint to personalize your quilt further.
- Incorporate Memories: Use notes or images printed on fabric to highlight special memories. This approach adds a storytelling element to your quilt.
Advantages of DIY T-Shirt Quilts
- Sustainability: Creating a quilt from old t-shirts is an eco-friendly way to recycle fabrics that would otherwise end up in landfills.
- Unique Gift Idea: A DIY t-shirt quilt can serve as a heartfelt gift for friends or family members, especially featuring t-shirts from shared experiences.
- Comfort and Warmth: Beyond aesthetics, these quilts provide warmth and comfort, making them perfect for cozy evenings in.
Tips for Beginners
- Start Small: If you’re new to quilting, start with a smaller project, like a throw pillow cover or a baby quilt.
- Practice on Scraps: Test your sewing techniques on scrap fabric before working on your quilt.
- Join a Community: Engage with quilting groups online or locally for support, tips, and motivation.
Conclusion
Creating a DIY t-shirt quilt is an enjoyable and rewarding project that results in a cozy home decor piece rich with memory. The unique blend of personalized artistry and practical warmth makes every quilt distinctly yours. Whether you are reminiscing about your college days or celebrating family milestones, a t-shirt quilt can beautifully encapsulate your life’s journey. Remember, every stitch tells a story, and in the world of DIY, the possibilities are limitless!