Transforming Recycled Materials into Stunning DIY Wall Art
Understanding the Concept of DIY Wall Art
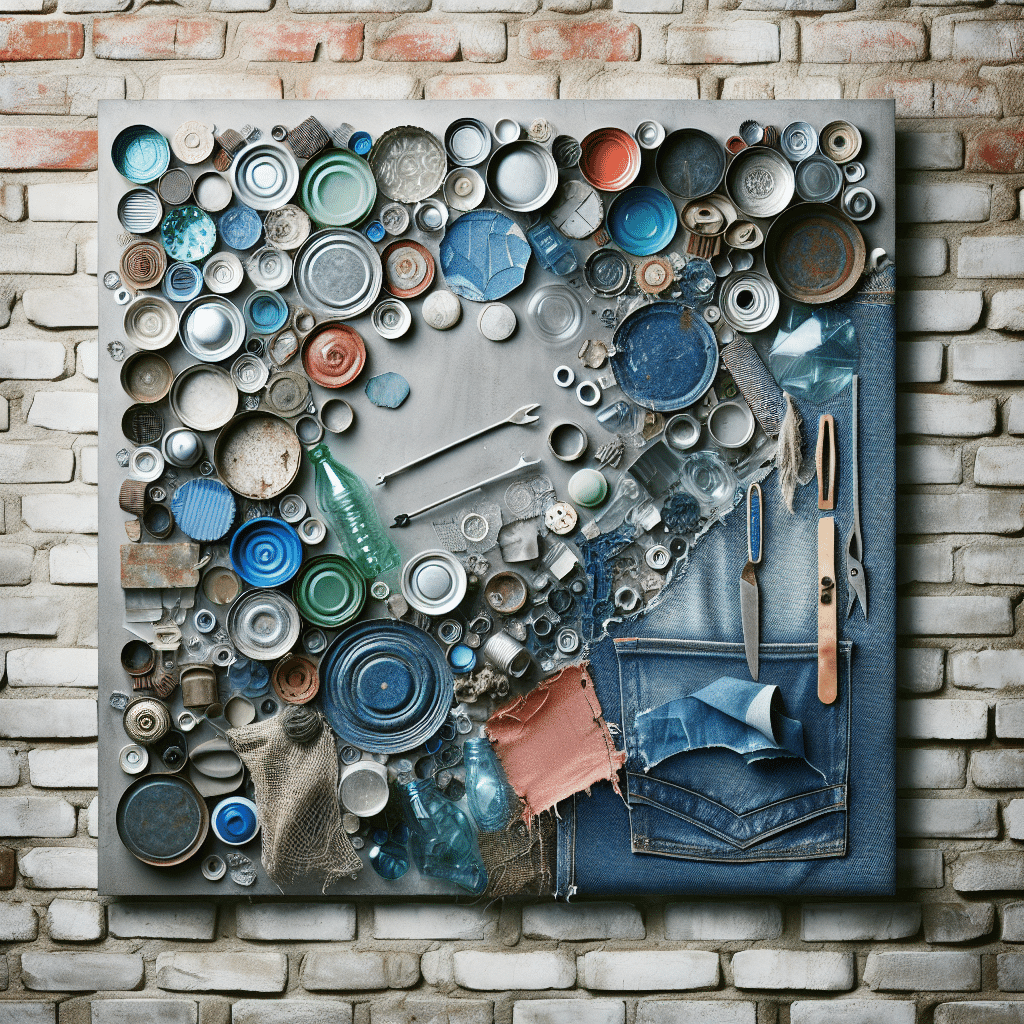
DIY wall art offers a unique opportunity to customize your living space while embracing sustainability. Creating art from recycled materials not only reduces waste but also challenges your creativity. Instead of traditional mediums like canvas and paint, consider how everyday items can be repurposed into beautiful décor. With some imagination and a few basic tools, you can create striking pieces that express your personality and values.
Benefits of Using Recycled Materials
- Sustainability: Utilizing recycled materials helps reduce landfill waste and conserves resources.
- Cost-Effective: Most recycled materials are either free or inexpensive, allowing for art projects on a budget.
- Creative Expression: Working with unconventional materials inspires unique ideas and artistic expression.
- One-of-a-Kind Pieces: Artwork made from recycled materials is often one-of-a-kind, giving your home a personal touch.
Types of Recycled Materials Ideal for Wall Art
- Paper and Cardboard: Old magazines, newspapers, and cardboard boxes can serve as versatile art materials. They can be cut, folded, or layered to create collages, sculptures, or textured pieces.
- Plastic Bottles and Containers: These common items can be transformed into flower shapes, wall hangings, or even 3D sculptures. Paint and embellishments can enhance their visual appeal.
- Wood Scraps: Unused wooden pallets or scrap wood can be repurposed into rustic signs, frames, or wall art installations. Sanding and painting the wood allows for additional customization.
- Fabric Scraps: Old clothing or fabric remnants can be sewn or glued into patchwork art or framed as a textile wall hanging. Consider creating a fabric collage that reflects your color scheme.
- Cans and Jars: Empty cans and jars can be painted or decorated and used as planters, candle holders, or unique shelf displays.
DIY Projects Using Recycled Materials
1. Paper Collage Art
Materials Needed: Old magazines, scissors, glue, a canvas or thick paper as a base.
Instructions:
- Gather various magazines and cut out images, phrases, or colors that resonate with you.
- Arrange the cutouts on your base to create a visually appealing composition.
- Once you’re satisfied with the layout, glue the pieces down.
- Consider enhancing the piece with paint splashes or additional drawings.
2. Bottle Cap Mosaic
Materials Needed: Different sizes and colors of bottle caps, a baseboard, hot glue gun.
Instructions:
- Collect bottle caps from beverages and sort them by color.
- Plan your mosaic design on paper or directly on the baseboard.
- Starting from the center, glue the caps onto the baseboard, following your planned design.
- Fill in any gaps with smaller caps for a cohesive look.
3. Pallet Wood Wall Art
Materials Needed: Old pallets, sandpaper, paint, brushes.
Instructions:
- Disassemble the pallet and sand the wood to prevent splinters.
- Create a geometric pattern or a simple word or phrase using the planks.
- Paint the wood in various colors or leave it natural for a rustic look.
- Attach the pieces together with nails or screws and hang it on your wall.
4. Fabric Wall Hanging
Materials Needed: Fabric scraps, a wooden dowel, scissors, hot glue.
Instructions:
- Cut fabric pieces into various lengths.
- Fold the top of each fabric piece over the dowel and secure it with glue.
- Once you’ve attached all fabric pieces, hang the dowel on the wall.
- For added flair, consider adding beads or mesh to the design.
5. Recycled Tin Can Art
Materials Needed: Clean, empty tin cans, paint, paintbrushes, wire or string.
Instructions:
- Remove labels and clean cans thoroughly, allowing them to dry.
- Paint the outside of the cans in bright colors or patterns.
- Punch holes in specific designs near the top for hanging.
- Use wire or string to hang the cans in a mobile or as standalone wall pieces.
Tips for Success
- Plan Your Design: Sketch out your ideas to avoid wasting materials.
- Gather Inspiration: Browse social media platforms like Pinterest or Instagram to find unique designs and techniques.
- Mix Materials: Don’t hesitate to combine different materials for a mixed-media effect.
- Experiment: The beauty of DIY is experimentation. Don’t be afraid to try new techniques or materials.
Where to Source Recycled Materials
- Local Cafés and Restaurants: Many establishments recycle and may have items they are willing to part with, including lids, containers, or paper products.
- Thrift Stores: These stores can be treasure troves for fabric, wood, and even old artwork that can be transformed.
- Friends and Neighbors: Spread the word that you’re collecting materials for art projects; you may be surprised by what people have to donate.
- Your Own Home: Before throwing out items, consider their potential in a DIY art project.
Safety Precautions
- Sharp Objects: When working with scissors, craft knives, or broken glass, use caution to avoid injuries.
- Non-toxic Materials: Use non-toxic paint and adhesives, especially if you have children or pets.
Final Thoughts on DIY Wall Art
Creating DIY wall art from recycled materials is not just about beautifying your space; it’s about embracing creativity and sustainability. By transforming discarded items into art, you can foster a deeper connection to both your home and the environment. Each piece not only enhances your décor but also tells a story—and that story is worth sharing.