DIY Wooden Chair Benches: A New Purpose for Old Furniture
Understanding the Appeal of Repurposing
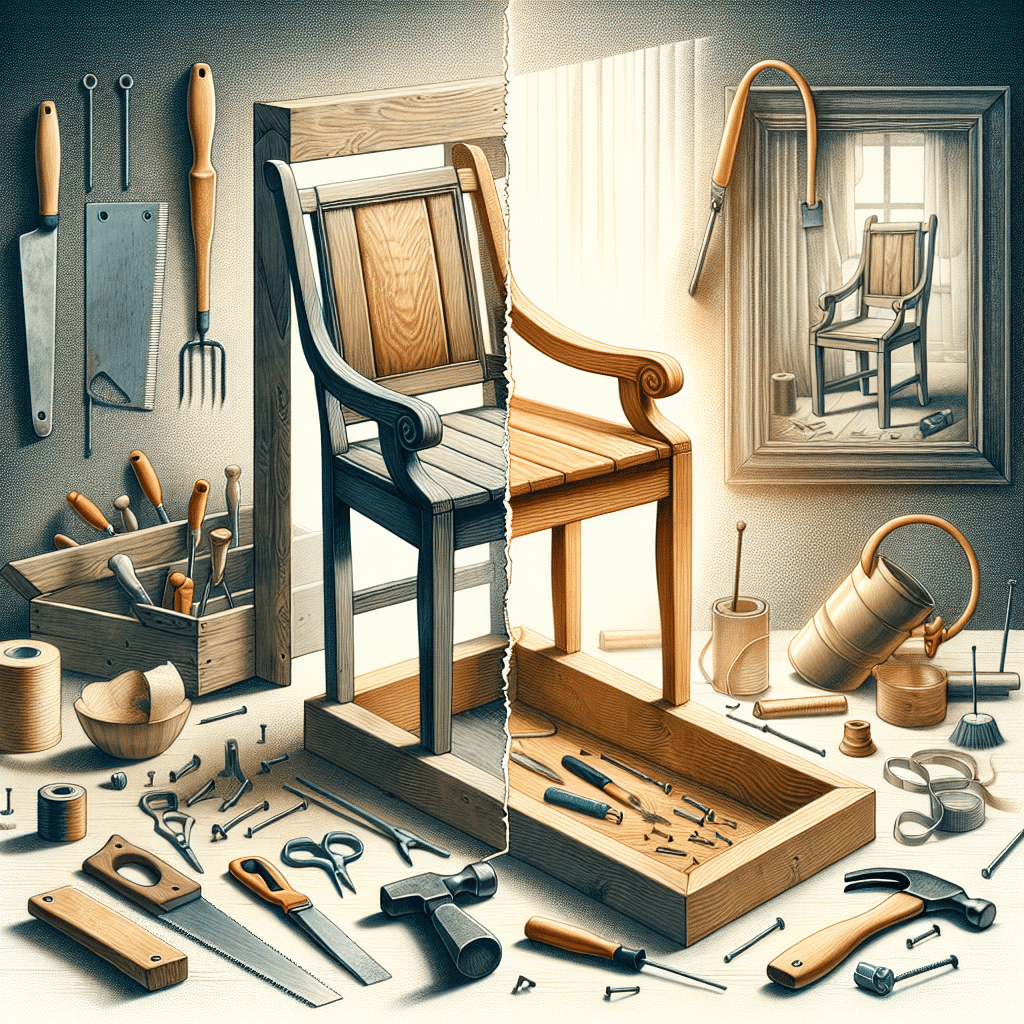
Repurposing old furniture is more than just a trend; it is an eco-friendly practice that resonates with sustainability enthusiasts. Wooden chair benches present an innovative and stylish solution for transforming outdated or broken chairs into functional furniture pieces. Not only does this DIY project save you money, but it also allows you to create custom designs tailored to your space.
Materials You Will Need
To embark on your DIY wooden chair bench project, gather the following materials and tools:
- Old Wooden Chairs: At least two or more chairs are needed, depending on the desired width of your bench.
- Sandpaper: Various grits (80, 120, and 220) for smoothing surfaces.
- Wood Glue: For extra stability in joints.
- Wood Screws: To secure the bench pieces together.
- Wood Stain or Paint: To enhance the appearance and protect the wood.
- Brushes or Rags: For applying stain or paint.
- Wood Sealant: To finish and protect the wood from humidity and wear.
- Drill/Screwdriver: For assembling parts.
- Clamps: To hold pieces together while assembling.
Step-by-Step Guide to Creating Your Wooden Chair Bench
-
Selecting Your Chairs
Choose wooden chairs that have a sturdy frame but may have some cosmetic damage. Look for chairs with similar styles for a cohesive appearance. Consider whether you want to retain the original finish or completely transform it. -
Preparing the Chairs
Remove any cushions, upholstery, and decorative elements from the chairs. Sand down any rough edges or surfaces to ensure a smooth finish. Start with a rough grit (80), then transition to finer grits (120 and 220) for a polished look. -
Designing Your Bench
Decide on the dimensions and design of your bench. A standard bench seat is typically 18-20 inches in height and 15-18 inches in depth. Measure the width based on the number of chairs used; a bench can range widely but usually falls between 40-60 inches. -
Cutting and Assembling the Seat
If you have mismatched chairs, you can align their seats next to each other to create a wider seat surface. Use wood glue to attach the seat sections and clamp them together until dry. For additional security, drive screws through the chair bottoms into the adjoining chairs. -
Creating Your Bench Legs
If your chairs are sturdily built, you might use their legs for additional support. However, you may also want to detach the legs and replace them with sturdier wooden blocks or pre-made bench legs available at hardware stores. Measure the height required for comfort and cut accordingly. -
Securing the Structure
For enhanced stability, add cross supports if necessary. This will prevent wobbling and can be done using small pieces of wood cut to fit between the legs diagonally or horizontally. -
Finishing Touches
Once the structure is complete, apply your chosen wood stain or paint. A classic stain enhances the natural wood grain while a bold color can provide a contemporary flair. Let the first coat dry, sand lightly, and apply a second coat as needed. Finish with a coat of wood sealant for protection. -
Adding Personal Touches
Consider personalizing your wooden chair bench with cushions or throw pillows for comfort. Outdoor benches can benefit from weather-resistant fabrics and treatments. You might also think about decorating the bench with stencils, carvings, or more intricate design elements depending on your skill level.
Creative Usage Ideas
Your newly created wooden chair bench can serve various purposes in your home or garden:
- Entryway Seating: Place the bench near your front door to create a welcoming space for guests and a convenient spot to put on or take off shoes.
- Dining or Kitchen Bench: Use it at your dining table for a casual seating option that enhances your home’s rustic charm.
- Outdoor Benching: Adding a bench to your garden or patio can create a perfect spot for relaxation among nature.
Maintenance Tips
Maintaining your DIY wooden chair bench is essential for longevity:
- Regular Cleaning: Wipe the bench using a damp cloth to remove dust and debris.
- Check for Wobbles: Periodically inspect screws and joints to ensure stability.
- Refinishing: Depending on the wood stain or paint used, consider reapplying every few years to maintain appearance and protection from the elements.
Eco-Friendly Benefits
Creating a DIY wooden chair bench is not just a fun project; it is also an environmentally conscious decision. This creative endeavor reduces waste by giving life to furniture that may have otherwise ended up in a landfill. By opting for this recycled approach, you actively support the sustainability movement while enjoying your unique creations.
The Psychological Boost of DIY Projects
Engaging in DIY projects has been shown to improve mood and self-esteem. The satisfaction derived from creating something with your hands fosters a sense of accomplishment and personal ownership. As you transform your old chairs into a beautifully repurposed bench, you immerse yourself in creativity, decreasing stress levels while enhancing your living space.
Final Thoughts
Turning old wooden chairs into stylish benches is an enriching experience that aligns with sustainable living. By combining creativity, craftsmanship, and functional design, you can breathe new life into forgotten furniture pieces while enhancing your home with a custom touch. Whether used indoors or outdoors, a DIY wooden chair bench offers a perfect blend of style, practicality, and eco-friendliness.