how to create a t-shirt apron from old shirts
Materials Needed
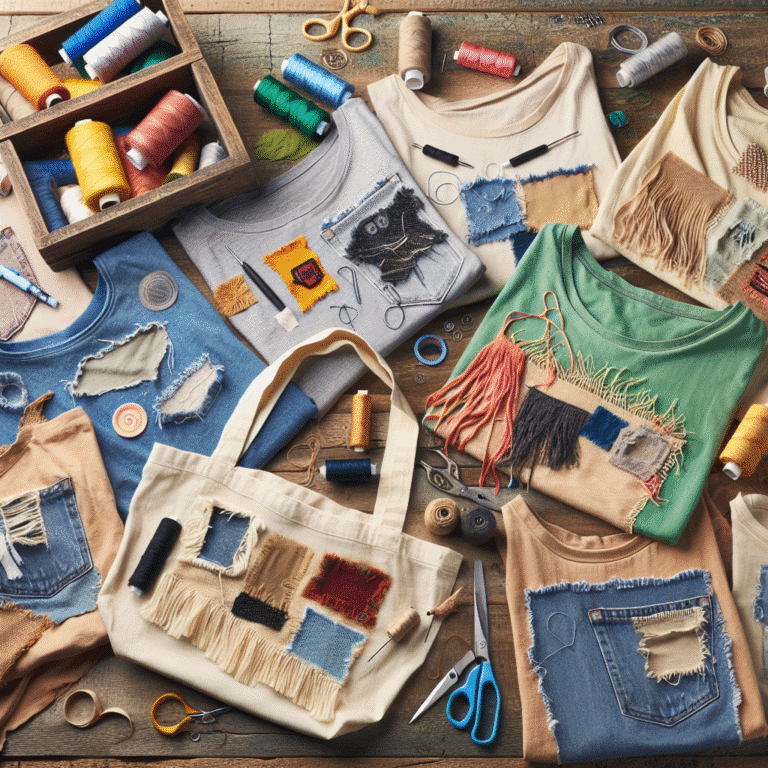
- Old T-shirts (preferably cotton for comfort)
- Scissors
- Sewing machine (optional) or needle and thread
- Measuring tape or ruler
- Fabric chalk or marker
- Pins or fabric clips
- Iron (for smoothing out fabric)
- Optional: embellishments (buttons, patches, fabric paint)
Step-by-Step Guide to Creating a T-Shirt Apron
Step 1: Choose Your T-Shirts
Select a few old t-shirts that you no longer wear but are made of sturdy cotton fabric. Consider using t-shirts in different colors or sizes for a unique look. You can create a fun patchwork effect by mixing and matching various styles.
Step 2: Prepare the Shirts
Wash and iron the t-shirts to remove any wrinkles and ensure they’re clean. This also helps to smooth the fabric, making it easier to work with during the cutting and sewing process.
Step 3: Cut the Shirts
-
Decide on Size: Consider who will be using the apron. Measure the desired length (usually around 28-35 inches) and width (about 20-25 inches) according to the wearer’s size.
-
Cutting the T-Shirts:
- Lay the t-shirt flat and cut along the sides to remove the sleeves.
- Cut across the neckline to create a wider opening; this will serve as the top of your apron.
- For an added design, you can cut the bottom hem to create a curved shape or angle it for a more stylistic approach.
-
Create Pockets: From additional t-shirts, cut out sections for pockets. Simple rectangular shapes are easy to sew and functional. Consider cutting the pockets from an area that features a cool graphic or logo.
Step 4: Assemble the Apron
-
Sew the Pockets: Use a sewing machine or hand stitch to attach the pockets to the front of the apron. Position them based on your needs, typically centered on the bottom half for easy access. Secure with straight stitches.
-
Join the Front and Back: If you’ve created a back layer using another shirt, place it behind the front apron layer and pin the sides together. You can leave the bottom unhemmed for a casual look or turn it under and stitch to create a hem.
Step 5: Make the Straps
-
Cut Strips: From the leftover t-shirt fabric, cut two strips about 2-3 inches wide and as long as you desire for the neck and waist straps (approximately 30-40 inches long for each, depending on your preference).
-
Sew the Straps: Fold the strips in half lengthwise, right sides together, and sew along the edge to create a tube. Turn them inside out, using a dowel or chopstick to help push the fabric through if necessary. Iron the straps flat after turning them.
-
Attach the Straps: Pin the ends of the neck and waist straps to the top and sides of the apron respectively. Ensure they are evenly spaced and symmetrical. Sew securely, reinforcing the stitching by going over it a couple of times.
Step 6: Final Touches
-
Add Embellishments: Customize your apron using fabric paint, buttons, or patches. Whether it’s a fun quote, artistic designs, or repurposed elements, make it your own.
-
Iron and Clean Up: Give your newly made apron a final iron to eliminate any wrinkles. Trim any excess threads for a polished finish.
Step 7: Enjoy and Use
Your T-shirt apron is now ready to wear! Whether you’re cooking in the kitchen, working in the garden, or crafting, this DIY apron not only protects your clothing but also showcases your creativity and style. The beauty of making an apron from old shirts lies in its sustainability and the joy of transforming something old into a functional piece of art.
Additional Tips for Crafting
- Use Different Styles: Experiment with various styles of t-shirts—graphic tees, tie-dye, or even striped shirts—to make your apron stand out.
- Layering Fabrics: If you want a thicker apron, consider layering two t-shirts together or using fabric interfacing for added structure.
- Upcycling Neckties: For a chic touch, you can repurpose old neckties as decorative elements on your apron, either as embellishments or part of the straps.
Cleaning and Care
To ensure the longevity of your t-shirt apron, wash it in cold water, preferably by hand or on a gentle cycle in the machine. Hang it to dry or tumble dry on low heat. Avoid bleach to maintain the colors and designs on the fabric.
Conclusion
Creating a t-shirt apron from old shirts is a rewarding and sustainable craft. This process not only helps reduce waste but encourages creativity. By following this detailed guide, you will have a fully functional and fashionable apron while contributing to eco-friendliness and personal expression.