How to Make a T-Shirt Quilt for Beginners
Materials Needed
Before embarking on your t-shirt quilt project, gather the following materials:
- T-shirts: Aim for 10-20 shirts, depending on your desired quilt size.
- Cutting Mat and Rotary Cutter: For precise cuts.
- Quilt Batting: Choose the thickness based on preference.
- Backing Fabric: Select a sturdy fabric for the quilt’s back, like cotton or flannel.
- Quilt Top Fabric: Use a solid color or patterned fabric that complements your t-shirt designs.
- Sewing Machine: A basic model will work fine, but ensure it can handle multiple layers.
- Thread: Choose a color that matches your fabric.
- Pins: To secure layers before sewing.
- Iron and Ironing Board: For smoothing out fabric and seams.
- Sewing Scissors: For snipping threads and trimming fabric.
Step 1: Prepare Your T-Shirts
Start by selecting the t-shirts you want to include in your quilt. Choose shirts with sentimental value, team logos, or other designs that hold meaning.
-
Wash and Iron: Ensure all t-shirts are clean and free from wrinkles. This prevents any shrinkage or distortion during sewing.
-
Cutting the Shirts: Use scissors to cut the t-shirts into pieces. This generally means cutting the front logo area into squares or rectangles, approximately 12” x 12”. However, variations in size can add interest to your quilt.
-
Stabilize Print Areas: T-shirt material stretches easily. To avoid distortion, stabilize the printed areas with a lightweight interfacing. Cut pieces of interfacing slightly larger than the shirt sections and iron them on the back of each piece.
Step 2: Arrange the Layout
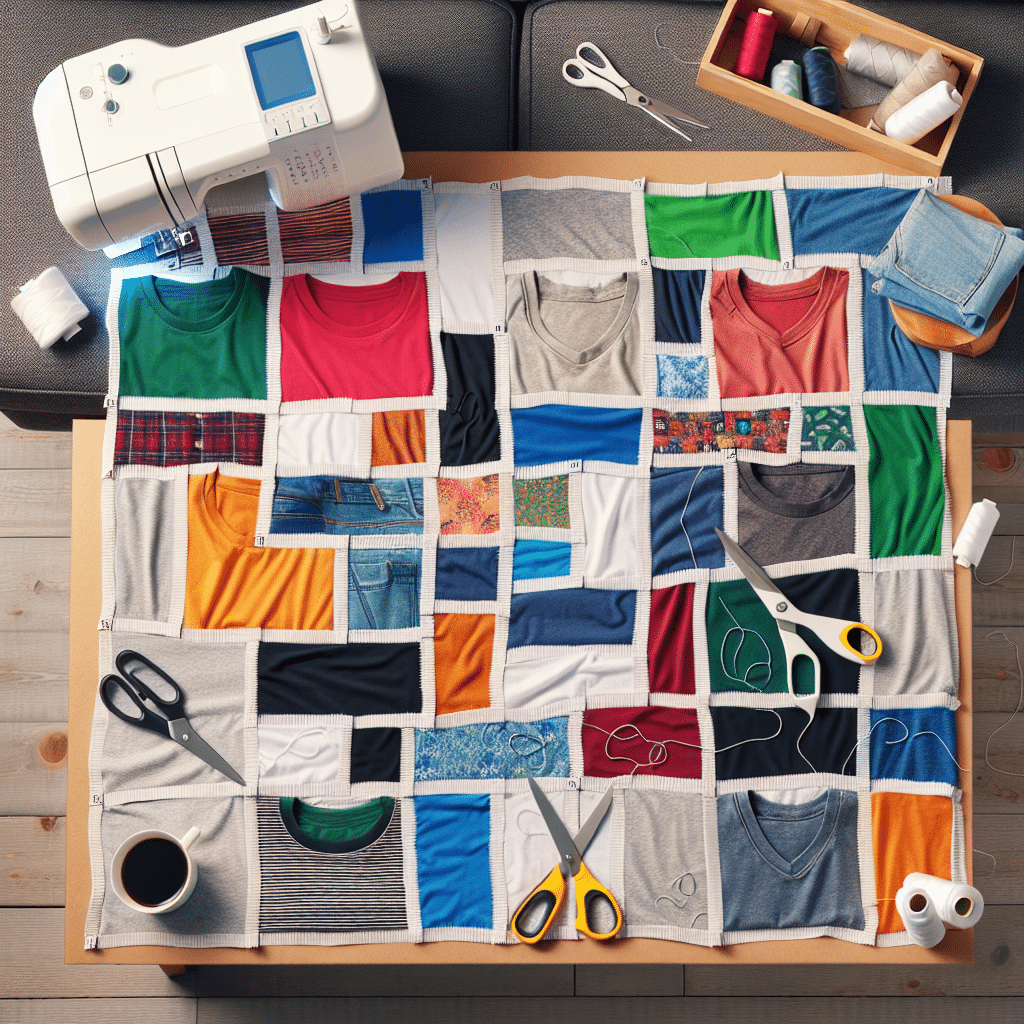
Once you have all your t-shirt pieces cut and stabilized, it’s time to arrange them.
-
Design Layout: Lay out your t-shirt pieces on the floor or a large flat surface. Play around with color combinations and designs until you find a layout that appeals to you.
-
Take a Picture: Once satisfied with the arrangement, take a photo for reference during sewing.
-
Number or Label: Consider labeling or numbering the pieces to help you remember the order during assembly.
Step 3: Sewing the Quilt Top
Now, you will begin sewing the t-shirt pieces together.
-
Sew Rows: Start by sewing t-shirt pieces into rows. Use a ¼” seam allowance. Pin pieces together to avoid shifting during sewing. Press seams open with an iron for a flat finish.
-
Join Rows: After sewing individual rows, sew them together. Again, pin to ensure they align correctly.
-
Trim Edges: Once all rows are combined into a quilt top, trim any uneven edges to ensure a clean and uniform look.
Step 4: Prepare the Quilt Sandwich
Creating the quilt sandwich is a crucial step before you start the final sewing.
-
Layering: Lay the backing fabric right side down on a flat surface, then place the batting on top, followed by your quilt top right side up.
-
Smooth Out: Gently smooth each layer to eliminate any wrinkles or bubbles.
-
Pin Layers: Use plenty of pins (or even basting spray) to secure these three layers together, ensuring the fabric remains held in position while sewing.
Step 5: Quilting Your T-Shirt Quilt
At this stage, you will need to quilt the layers together.
-
Choose a Quilting Style: Decide whether you want to quilt in straight lines, follow the edges of the t-shirt designs, or use free-motion quilting for more creativity.
-
Sew the Layers: Begin quilting from the center and work your way outwards. This method minimizes shifting. Remove pins as you sew.
-
Trim Excess Batting: After quilting is completed, trim any excess batting around the edges.
Step 6: Binding the Quilt
The binding is the final touch that gives your quilt a polished look.
-
Cut Binding Strips: Cut fabric into 2” strips, then join these strips at a 45-degree angle to create a long continuous strip, long enough to go around the quilt’s perimeter.
-
Attach Binding: Start by pinning or sewing the binding to the edge of the quilt, leaving a few inches of overlap. Use a ¼” seam allowance and miter the corners by folding the binding at a 45-degree angle and tucking it down.
-
Finish Binding: After the binding is attached, fold it over to the back side of the quilt and either hand-stitched or sew it down with a sewing machine.
Step 7: Final Steps
Once your quilt is sewn and bound, inspect your creation thoroughly.
-
Final Ironing: Press the quilt gently to remove any wrinkles and ensure all seams are crisp.
-
Wash and Dry: Wash your quilt per the fabric care instructions to remove any markings and to allow it to “bloom”—the process of softening the quilt and bringing out its texture.
-
Display with Pride: Whether used as a cozy throw on the couch, a decorative piece on a bed, or a treasured keepsake to celebrate memories, your t-shirt quilt is now ready to enjoy!
Tips for Success
-
Practice First: If you’re a sewing beginner, consider creating a small practice project with scrap fabric to gain confidence.
-
Keep It Simple: Don’t overcomplicate your design with too many colors or patterns. A simpler layout can often be more visually appealing.
-
Patience is Key: Quilting is a time-intensive process; take your time to ensure quality work.
-
Join a Community: Online quilting groups and forums can offer support, tips, and inspiration.
By following these steps, you’re well on your way to creating a sentimental t-shirt quilt that combines nostalgia with comfort, all while mastering valuable sewing skills. Dive in and enjoy the rewarding experience of making something truly personal!
