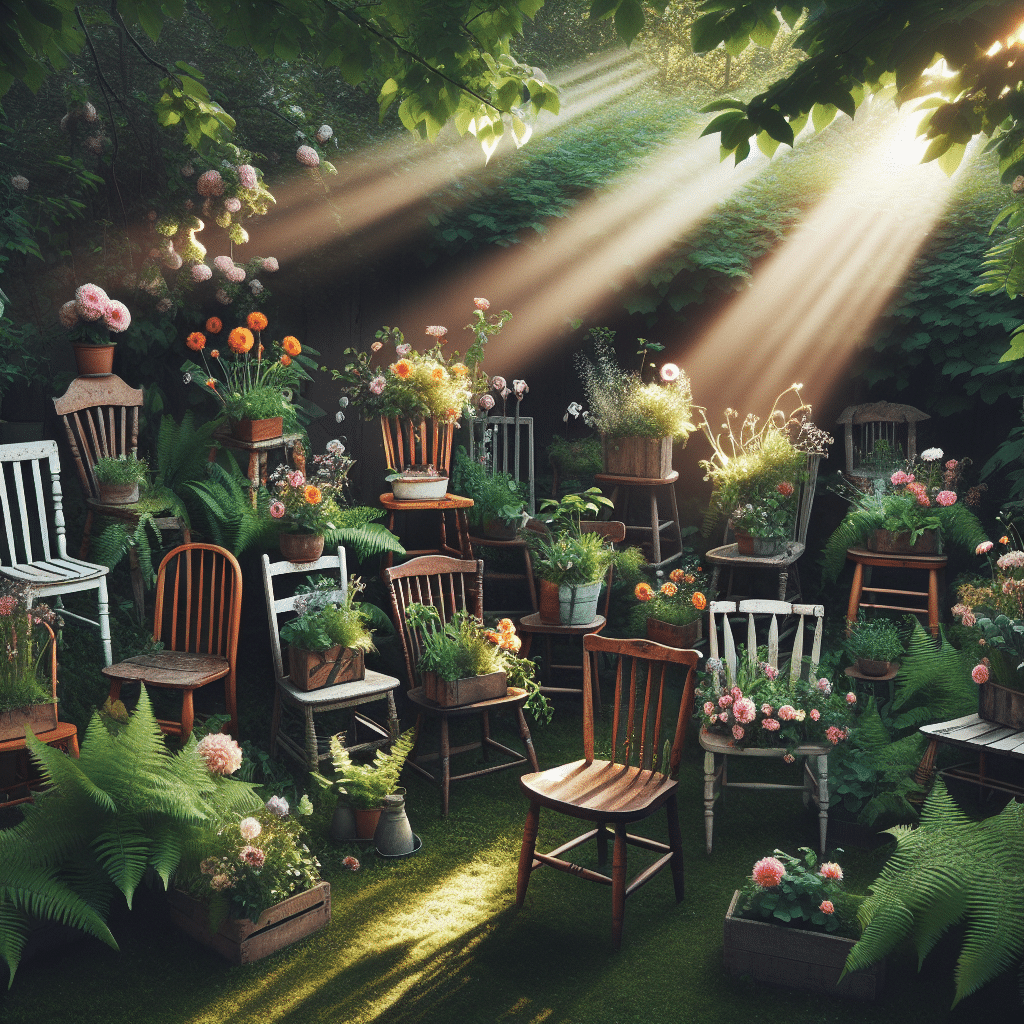
How to Turn Old Wooden Chairs into Unique Planters
Materials You Will Need
Before starting this creative project, gather the necessary materials. Here’s a list to help you set up:
- Old Wooden Chairs: Ensure they are stable enough to hold soil and plants.
- Sandpaper: For smoothing rough edges.
- Wood Stain or Paint: Optional, for aesthetic improvements.
- Drill: To create drainage holes.
- Potting Soil: To provide the necessary nutrients.
- Plants or Flowers: Choose varieties that will thrive in the chair planters.
- Landscape Fabric: To prevent soil loss.
- Watering Can: For maintaining moisture.
- Sealant: To protect wood if desired.
Step-by-Step Guide
-
Choosing the Right Chair:
Look for wooden chairs that are structurally sound. Avoid chairs that are broken or severely rotted. While any style can work, simple, less ornate chairs often provide a better canvas for creativity. -
Preparing the Chair:
Begin by cleaning the chair thoroughly. Remove dust and dirt using a damp cloth. This ensures that any paint or stain adheres properly if you choose to update the look. Use sandpaper on rough edges, splinters, or peeling paint. This not only enhances the appearance but also makes it safer to handle. -
Creating Drainage Holes:
Using a drill, create several holes at the bottom of the seat and, if applicable, at the base of the chair legs to ensure proper drainage. This is vital for maintaining plant health, preventing root rot from excess moisture. -
Applying Wood Stain or Paint:
If desired, apply a wood stain or paint after the sanding is complete. Choose water-resistant products to enhance durability. Consider colors that complement your garden or home for a more cohesive look. Allow the finish to dry completely. -
Adding Landscape Fabric:
Place landscape fabric over the drainage holes. This prevents soil from falling out while allowing excess water to escape. If you prefer a more rustic look, leave the holes exposed, but the landscape fabric will prolong the life of your planter. -
Filling With Soil:
Fill the seat area with potting soil. Leave about an inch of space below the rim of the chair to make room for watering. Make sure to use high-quality potting soil, which includes nutrients and promotes good drainage. -
Choosing Plants:
Select plants that are suitable for the light conditions where the chair will be located. For sunny locations, consider succulents, petunias, or fern varieties. If the chair will be placed in shade, look for shade-tolerant plants like hostas or ferns. -
Planting:
Remove the plants from their nursery containers and gently loosen the roots. Place them in the potting soil, covering the root ball while gently packing the soil around them. For a layered effect, consider planting taller plants towards the back and shorter ones at the front. -
Watering:
After planting, water the new arrangements thoroughly, ensuring that the soil is evenly moistened but not soaked. This initial watering helps eliminate air pockets and establishes a good environment for the roots. -
Maintenance:
Regular maintenance includes watering as needed, depending on your local climate and the specific plants used. Remove any dead or wilted foliage promptly to encourage healthy growth. Fertilize during the growing season to boost plant health if required.
Creative Ideas for Customization
Enhance your chair planter by incorporating personal touches. Here are some creative ideas:
- Paint Patterns: Use stencils to create designs or patterns on the wood for added personality.
- Chair Leg Planters: Consider using the legs of the chairs as additional planting spaces. Attach small pots to the ends of the chair legs or plant flowers that hang down from the seat.
- Tiing Decor: Decorate the chair with decorative items such as ribbons, fairy lights, or even driftwood to create an appealing outdoor accent.
- Seasonal Displays: Change the plants seasonally for a fresh look throughout the year. Use spring blooms, summer foliage, fall decorations, or winter evergreens to keep your chair relevant within the seasons.
Placement Tips
Choosing the right location for your chair planter is essential. Here are some placement tips:
- Direct Sunlight: Ensure the selected plants receive adequate sunlight. If chosen for a sunny position, especially during summer, investigate heat tolerance for longevity.
- Shaded Areas: If it’s in a shady area, ensure that the plants selected thrive in lower light. Consider placing it near other greenery to create a lush atmosphere.
- Focal Point: Use the chair planter as a focal point in your garden by placing it at the end of a walkway or near a seating area. It can serve as a beautiful centerpiece surrounded by other plants.
- Indoors: Don’t limit yourself to the outdoors. With the right plants, a chair planter can be a unique piece of indoor decor, adding life to hallways, sunrooms, or living areas.
Sustainability Aspect
Upcycling old wooden chairs aligns perfectly with sustainability principles. By giving a second life to furniture that might have ended up in a landfill, you are making a conscious effort towards reducing waste. Furthermore, planting greenery can help improve air quality and support local ecosystems.
Useful Resources
To assist with this project, several online resources provide tutorials and inspiration:
- Pinterest: A goldmine for DIY inspiration and creative ideas.
- YouTube: Look for video tutorials on upcycling furniture and creating planters.
- Gardening Blogs: Many gardening enthusiasts share tips on plant care and design.
By transforming old wooden chairs into unique planters, you not only contribute positively to your garden but also embrace a creative project that showcases your personal style. Enjoy the process, the transformation, and the blooms that follow!