How to Use Fabric to Upcycle Old Wooden Chairs
How to Use Fabric to Upcycle Old Wooden Chairs
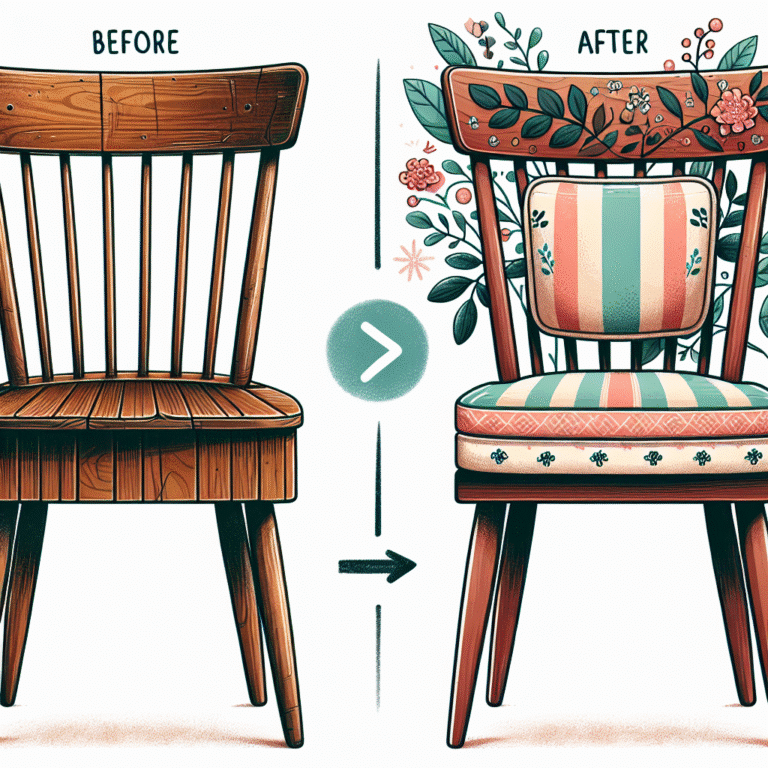
Upcycling old wooden chairs is a creative endeavor that not only promotes sustainability but also adds a personal touch to your living space. By using fabric, you can breathe new life into a tired chair, transforming it into a stylish and functional piece of furniture. This detailed guide outlines the steps and considerations necessary to effectively upcycle your wooden chairs with fabric.
Assessing the Chair’s Condition
Before diving into the upcycling process, evaluate the condition of the wooden chair. Look for:
- Sturdiness: Check if the chair remains stable and secure. Ensure that the legs, seat, and backrest support weight without wobbling.
- Wood Condition: Inspect for cracks, chips, or damage. If the wood is in poor condition, consider repairing it before applying any fabric.
- Cushioning: If the chair has a cushioned seat, assess the padding’s quality. You may need to replace or add foam for comfort.
Selecting the Right Fabric
Choosing the appropriate fabric is crucial for both appearance and durability. Consider the following:
- Type of Fabric: Opt for upholstery-grade fabric that can withstand wear and tear. Materials like canvas, denim, or polyester blends are excellent options.
- Pattern and Color: Choose fabrics that complement your decor style. Floral, geometric, or solid tones can enhance the chair’s aesthetic and customize your living space.
- Texture: Incorporate a variety of textures to create a more visually appealing chair. Faux leather, linen, and velveteen can all add depth and interest.
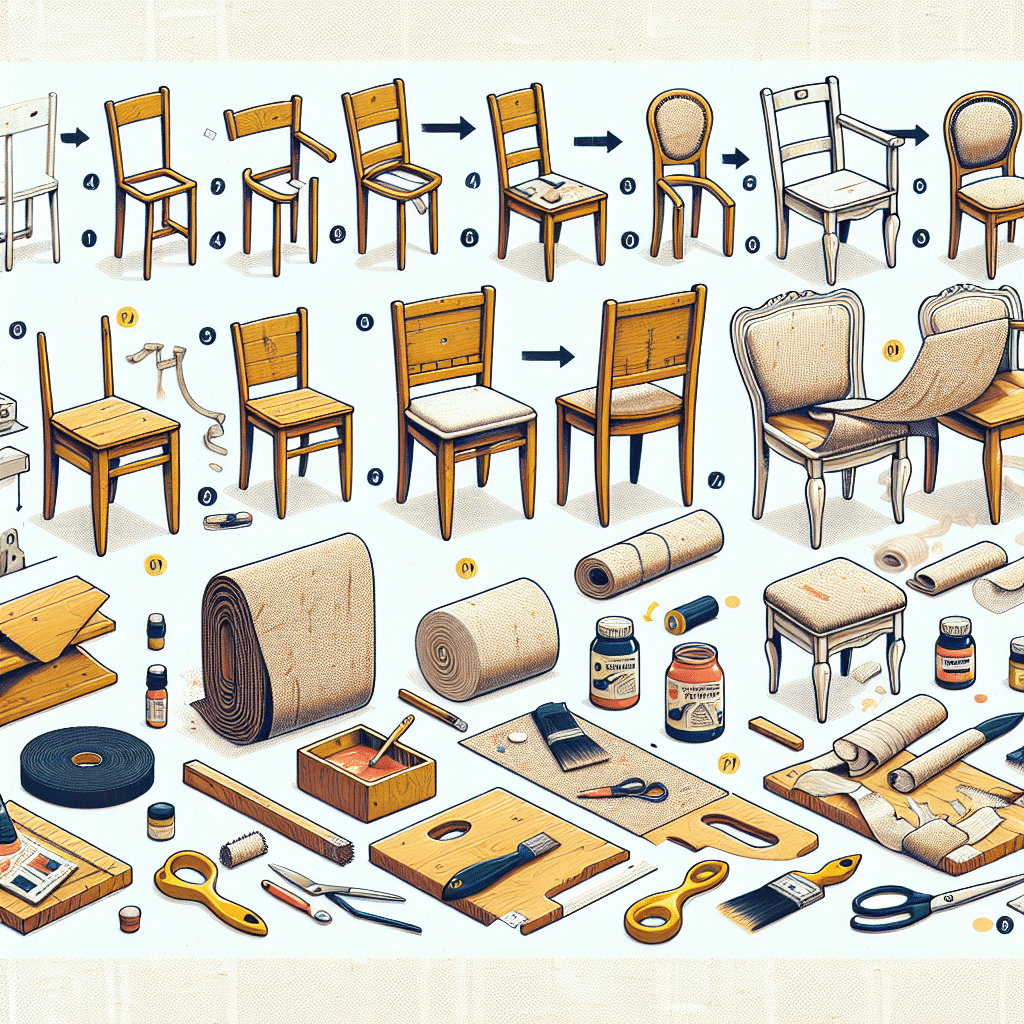
Tools and Materials Needed
Gather the essential tools and materials before starting:
- Fabric of your choice (enough to cover your chair)
- Scissors
- Staple gun and staples
- Measuring tape
- Screwdriver (for disassembling parts)
- Sandpaper (if refinishing wood)
- Wood glue (for repairs)
- Plywood (for seat replacement, if necessary)
- Batting (for cushioning)
- Paint or wood stain (if refinishing)
Disassembling the Chair
If your chair allows, take it apart carefully. Use a screwdriver to remove screws and separate the seat from the frame. This step makes it easier to work on various components and provides a better surface for applying fabric.
Refinishing the Wood
If the wooden parts of your chair require refreshing, consider refinishing them:
- Sanding: Use medium to fine-grit sandpaper to remove old finishes and smooth out any rough surfaces.
- Staining or Painting: Apply wood stain or paint for a fresh look. Follow the manufacturer’s instructions for drying times between coats.
- Sealing: Finish with a clear sealant to protect the wood from wear, especially if the chair will be used frequently.
Preparing the Seat Cushion
If your chair has a seat cushion or you are creating one from scratch, follow these steps:
- Remove Old Fabric: If applicable, carefully remove the old upholstery using a staple remover or flathead screwdriver.
- Replace Padding: If the existing foam cushion is worn out, cut new foam to size and replace the old padding. You can opt for a higher-density foam for better comfort.
- Add Batting: Wrap the foam in batting to create a softer edge and smooth out the cushion shape. Secure it with a few staples.
Cutting and Preparing the Fabric
Once you’ve prepared the seat, you can move on to the fabric:
- Measure: Measure the seat’s dimensions to determine how much fabric you need. Include extra material to wrap around the edges.
- Cut: Cut your fabric according to these measurements, allowing an additional 2-4 inches around the edges for tacking down.
- Iron: If necessary, iron the fabric to remove wrinkles or creases to ensure a smooth appearance when applying.
Upholstering the Chair
Now, it’s time to attach the fabric to the seat:
- Position the Fabric: Place the fabric over the seat, aligning the pattern as desired.
- Staple Down: Start by stapling one side of the fabric to the underside of the seat. Pull the fabric taut but not overstretched.
- Fold Corners Neatly: For the corners, create a neat fold to avoid bulk and ensure a professional finish. Tuck in the raw edges, then staple them securely.
- Continue tacking: Work your way around the seat, stapling at equal intervals until the entire perimeter is secure.
- Trim Excess Fabric: After finishing, trim any extra fabric from the edges to avoid clutter underneath the seat.
Reassembling the Chair
After securing the fabric, it’s time to reattach the seat to the chair frame:
- Align the Seat: If you disassembled the chair, position the seat back onto the frame correctly.
- Secure with Screws: Use the screwdriver to reattach any screws or bolts, ensuring that everything is tight and secure.
Adding Finishing Touches
To make your upcycled chair unique, consider the following finishing touches:
- Cushioning Accessories: Add throw pillows or seat cushions that match or complement your fabric choice for added comfort.
- Protective Coatings: If you’ve varnished or painted the wood, consider applying furniture polish occasionally to maintain the finish.
- Accessorizing: Incorporate decorative elements such as wooden or metal accents that tie the chair in with your home’s theme.
Maintenance Tips
To ensure your upcycled wooden chair lasts, follow these maintenance tips:
- Cleaning: Regularly dust and clean the fabric with appropriate cleaners suitable for the specific fabric type.
- Avoid Direct Sunlight: Prevent fading by placing the chair out of direct sunlight or using window treatments.
- Check Stability: Periodically inspect the chair for loose screws or wobbling, and tighten as needed.
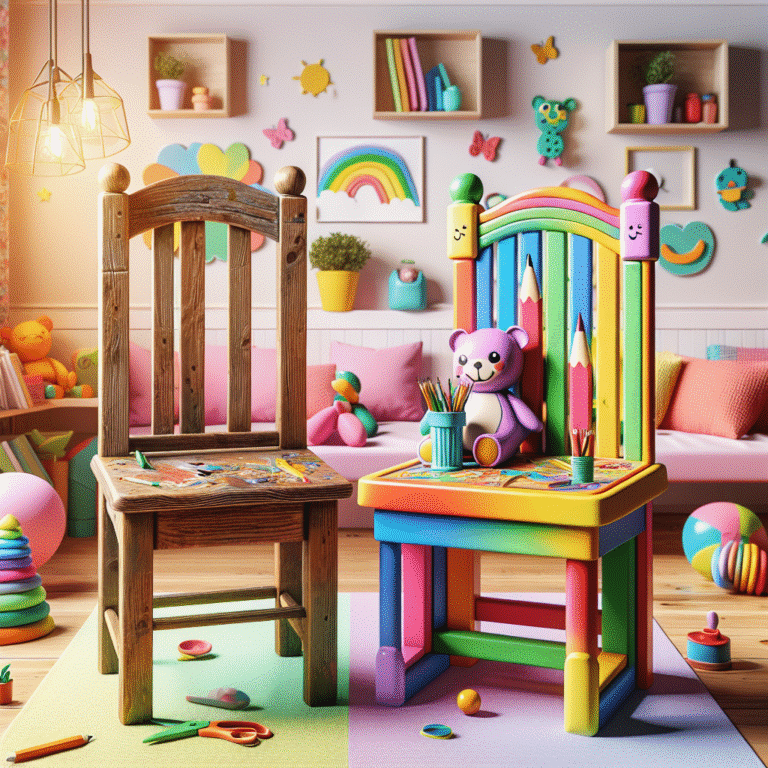
Sustainability and Creativity
Upcycling old wooden chairs is not just a DIY project; it’s a sustainable practice that reduces waste. By creatively using fabric, you can transform outdated furniture into bespoke pieces that reflect your style while being environmentally conscious. Start with a vision, gather your materials, and enjoy the gratifying process of bringing new life to your old furniture. The result is not only visually pleasing but also serves as a conversation starter in your home.