The Art of Upcycling: Wooden Chair Makeovers That Wow
Understanding Upcycling
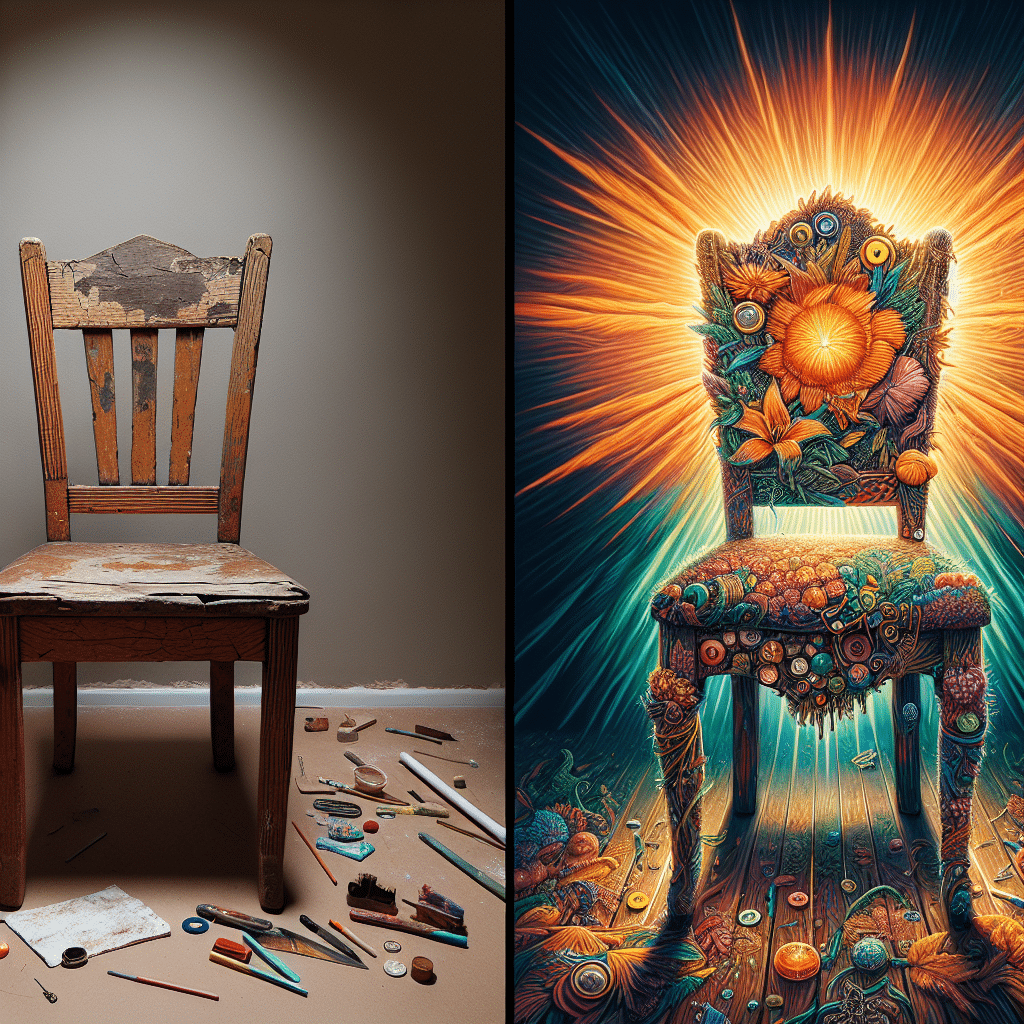
Upcycling transforms unwanted or discarded items into functional and aesthetically pleasing products. It extends the lifecycle of materials, reduces waste, and encourages creativity. Among the various furniture types, wooden chairs are especially popular for upcycling projects due to their structure and longevity. The art of upcycling wooden chairs has become a creative outlet for many DIY enthusiasts, resulting in individualized pieces that provide both charm and character to any space.
Types of Wooden Chairs Ideal for Upcycling
The first step in an upcycling project is selecting the right chair. A few types of wooden chairs are particularly well-suited for transformation:
-
Folding Chairs: These are functional and space-saving, often featuring a simple design that can be easily updated.
-
Dining Chairs: Dining chairs can suffer from everyday wear and tear, making them prime candidates for a refresh.
-
Rocking Chairs: A good solid wood rocking chair can be a beautiful focal point in a room, and with the right touch, it can become a showstopper.
-
Armchairs: These provide a larger canvas for creativity, allowing for significant aesthetic changes.
-
Bar Stools: Upcycled bar stools can bring a rustic or modern flair, depending on the finish and upholstery.
Essential Tools for Upcycling Wooden Chairs
Having the right tools is fundamental to ensuring a successful upcycling project. Here are some essential items:
- Screwdrivers: For disassembling and reassembling the chair.
- Sandpaper: Different grits (80, 120, and 220) will help smooth the surface and prepare it for painting or staining.
- Wood Glue: For any necessary repairs before the new finish is applied.
- Paint or Wood Stain: Choose colors that fit your design aesthetic—vibrant hues for a modern look or muted tones for a vintage feel.
- Sealant: A topcoat will protect the finish and improve durability.
- Upholstery Tools: If new fabric is needed, staple guns and scissors are necessary.
Step-by-Step Upcycling Process
The following steps outline the upcycling process for a wooden chair makeover. Each phase is crucial for achieving a beautiful end result.
1. Assessment and Planning
Start by assessing the condition of the chair. Check for structural issues, such as wobbly legs or loose joints. Determine the design direction: Will it be painted, stained, reupholstered, or all three?
2. Disassembly
If required, carefully disassemble the chair using screwdrivers. Taking the chair apart can make the surface easier to work on and allows for more detailed cleaning and refinishing. Make sure to keep all screws and parts organized for reassembly.
3. Cleaning
Thoroughly clean the wooden surfaces to remove dust, dirt, and grease. A mixture of warm water and mild soap may suffice, but for oily surfaces, consider a degreasing solution.
4. Sanding
Using sandpaper, sand the entire surface to remove the old finish and smooth out imperfections. Start with an 80-grit paper, followed by 120-grit, and finish with 220-grit for a silky texture.
5. Repairing Damage
Examine the chair for cracks or damages. Use wood glue for repairs and clamps to hold pieces together until dry. After the glue has set, sand down the repaired areas again to ensure a smooth finish.
6. Painting or Staining
Decide on the color or stain for your chair. For a bold look, consider bright colored paint such as turquoise or crimson. For a more rustic effect, opt for a wood stain that highlights the natural grain. Apply a consistent layer, allow it to dry, and sand lightly between coats if you plan multiple layers.
7. Upholstering the Seat
If the chair has a seat cushion, you may wish to recover it. Remove the existing fabric and padding. Choose a new fabric that complements the chair’s new look. Cut the fabric and foam to size, then stretch and staple it to the seat. Make sure the fabric is smooth and taut, avoiding wrinkles.
8. Sealing
After painting or staining, apply a sealant to protect the finish. This is particularly important for dining chairs and frequently used furniture. Follow the manufacturer’s instructions regarding drying times and application methods.
9. Reassembly
Once all the components are finished and completely dry, carefully reassemble the chair. Ensure all screws are tightened for stability.
10. Final Touches
Consider adding accents or enhancements, such as decorative cushions, throw blankets, or even applying decals or stencils to earn that wow-factor.
Inspiring Upcycling Ideas
Vintage Chic
Transform an old wooden dining chair into a vintage masterpiece by painting the seat in pastel colors, distressing the edges, and covering the seat with floral-patterned fabric. This style pairs well with shabby chic decor.
Industrial Style
Give a worn-out bar stool an industrial flare by using a matte black paint finish. Pair it with reclaimed wood tops or metallic accents, adding a factory-style appeal.
Rustic Revival
Sesame the reclaimed wood with a weathered stain and add a soft fabric in earth tones for seating. The rustic charm is perfect for cozy cabins or farmhouse settings.
Bohemian Vibes
For a boho style, mix various fabrics and patterns in the upholstery. Use tie-dye or batik prints, and enhance the chair with a natural finish that highlights the wood’s grain.
DIY Upcycling: A Community Movement
Sharing upcycling projects online through social media platforms has sparked a global community passionate about eco-friendly design. Numerous blogs and forums share tips, tutorials, and creative inspiration, empowering even novice DIY enthusiasts to participate in the upcycling trend.
Conclusion
Embracing the art of upcycling wooden chairs not only breathes new life into furniture but also promotes sustainable living. Each project allows for self-expression and creativity, making every upcycled chair truly one-of-a-kind. Whether you are a seasoned DIY-er or just starting, the journey of transforming a simple wooden chair can be rewarding and result in stunning, functional art pieces for your home.