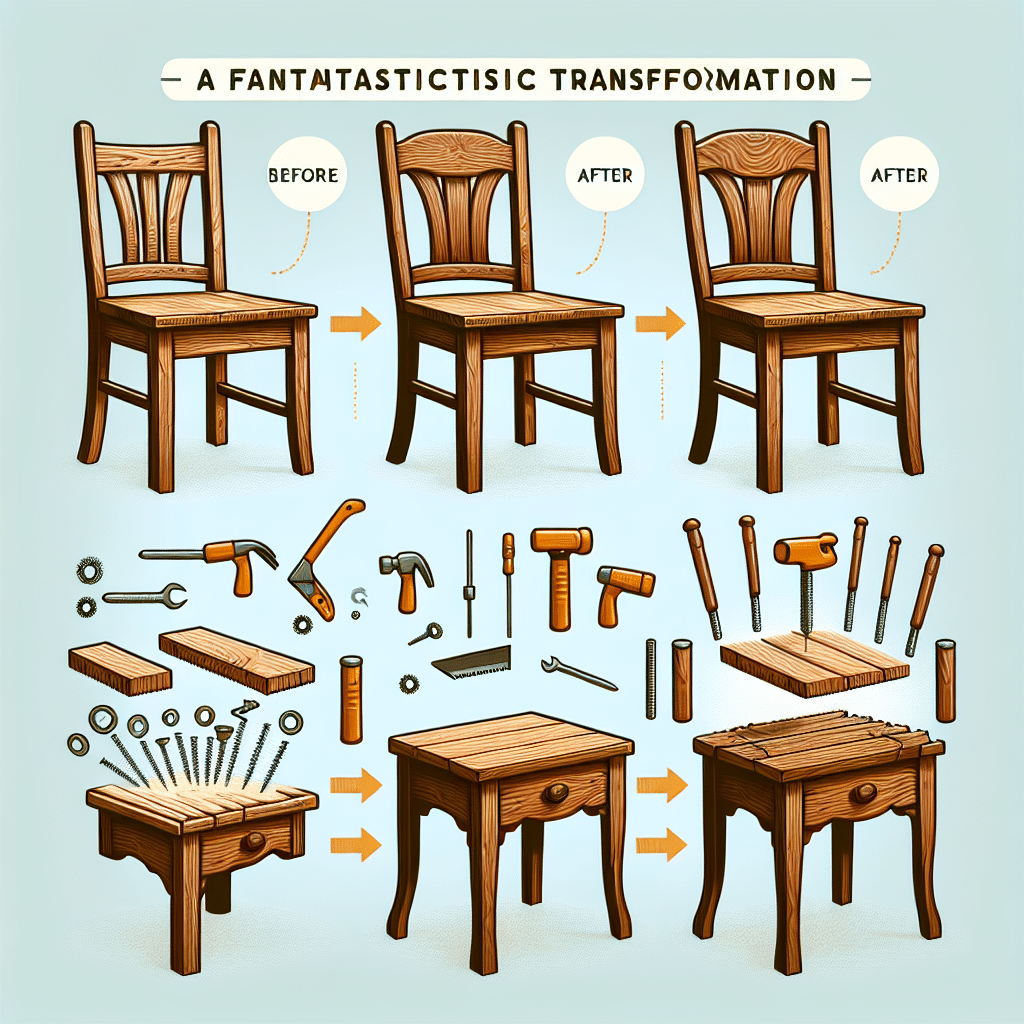
Transforming Wooden Chairs into Side Tables: A Creative DIY Guide
Why Transform Wooden Chairs?
Repurposing wooden chairs into side tables is an innovative approach to home decor, emphasizing sustainability and creativity. With a bit of effort, you can breathe new life into old furniture, creating unique pieces that reflect your personal style while reducing waste. This DIY project is perfect for both seasoned crafters and beginners exploring new home decor options.
Essential Tools and Materials
Before diving into the transformation process, gather the necessary tools and materials:
-
Tools:
- Drill and drill bits
- Saw (hand saw or jigsaw)
- Sandpaper (varying grits)
- Screwdriver
- Measuring tape
- Clamps
-
Materials:
- Wooden chair (in good condition)
- Wood glue
- Wood screws
- Paint or wood stain
- Finish (polyurethane or sealant for protection)
Preparing the Chair
-
Select the Right Chair:
Look for a sturdy wooden chair with a solid structure. Avoid chairs that are wobbly or significantly damaged, as these could be difficult to convert. Consider the height—aim for a chair that can comfortably transition into a side table. -
Disassemble (If Necessary):
If the chair has removable parts (like a seat), take these apart. Typically, you will use the chair’s seat and backrest but check if the legs need adjustment. -
Clean Thoroughly:
Clean the chair to remove dirt and residue. A mixture of warm water and mild soap works well. Make sure the chair is completely dry before proceeding.
Modifying the Structure
-
Determine the Table Height:
Measure the desired height of your side table. Standard side tables are usually 18 to 24 inches tall. Adjust the height by either shortening the legs of the chair or modifying the seat. -
Shortening the Legs:
If the chair is too tall, mark the legs at the desired height and cut them with a saw. Ensure all legs are cut evenly for stability. Sand down the cut areas to avoid splinters. -
Creating a Flat Top:
If the chair seat isn’t wide enough, consider adding a base. A solid wood piece can be screwed on to create a larger surface area. Ensure its edges are smooth and level. -
Reinforcing Structure:
Once you’re satisfied with the height and surface area, reinforce the structure. This can be done using wood glue and screws to secure any added components.
Sanding and Finishing Touches
-
Sanding:
Use sandpaper to smooth out any rough edges on the surfaces. Start with a coarse grit to remove any imperfections, then switch to finer grit for a polished finish. Pay special attention to joints and corners. -
Staining or Painting:
Choose a color or stain that complements your home decor. If painting, ensure you use a primer followed by a suitable paint type. For staining, apply evenly and wipe off the excess to achieve the desired intensity. -
Sealing the Finish:
Once the paint or stain has dried, apply a protective finish like polyurethane. This will guard against scratches and spills, essential for a piece of furniture that will see regular use.
Adding Unique Features
-
Drawer Installation:
If you’d like added functionality, consider installing small drawers or compartments within the table structure. Repurposing old drawer slides from another piece of furniture can add convenience. -
Decorative Elements:
Enhance the aesthetic appeal by adding decorative knobs or handles. You can also attach hooks to the side for hanging items like towels or magazines. -
Surface Decorations:
Consider adding a glass top for a modern finish or using decoupage techniques to incorporate patterns and images that resonate with your style.
Decorating Your New Side Table
Once your chair has been successfully transformed into a side table, it’s time to accessorize. Here are some ideas to enhance its functionality:
- Plants: Incorporate decorative plants for a touch of nature.
- Books and Magazines: Display your favorite reads for easy access and decoration.
- Lighting: Add a small lamp to create ambiance in the room.
- Artwork: Use the table as a display for cherished items or decorative sculptures.
Tips for a Successful Transformation
- Patience is Key: Take your time during each step. Rushing may lead to mistakes or an unsatisfactory final product.
- Incorporate Style: Think about how the new side table will fit into your existing decor. Choose colors and styles that blend or contrast well.
- Seek Inspiration: Browse online platforms such as Pinterest or home improvement blogs for creative ideas and projects similar to your concept.
Safety Precautions
While transforming a chair into a side table, prioritize your safety:
- Always wear gloves when using tools.
- Use safety goggles to protect your eyes from sawdust.
- Ensure your workspace is clean and free of hazards.
Maintenance Tips for Your Side Table
- Regular Cleaning: Use a damp cloth for dusting and cleaning.
- Periodic Refinishing: Depending on use, reseal or repaint every few years to maintain its appearance.
- Avoid Excessive Moisture: Make sure to keep drinks coasters on the table to prevent water damage from spills.
With creativity and effort, transforming a wooden chair into a side table not only provides a functional piece of furniture but also adds character to your space. Whether you opt for a rustic, modern, or eclectic style, this DIY project allows for endless customization possibilities, making each piece uniquely yours.
