Transforming Your Wooden Chairs into Stylish Décor
Understanding the Potential of Wooden Chairs
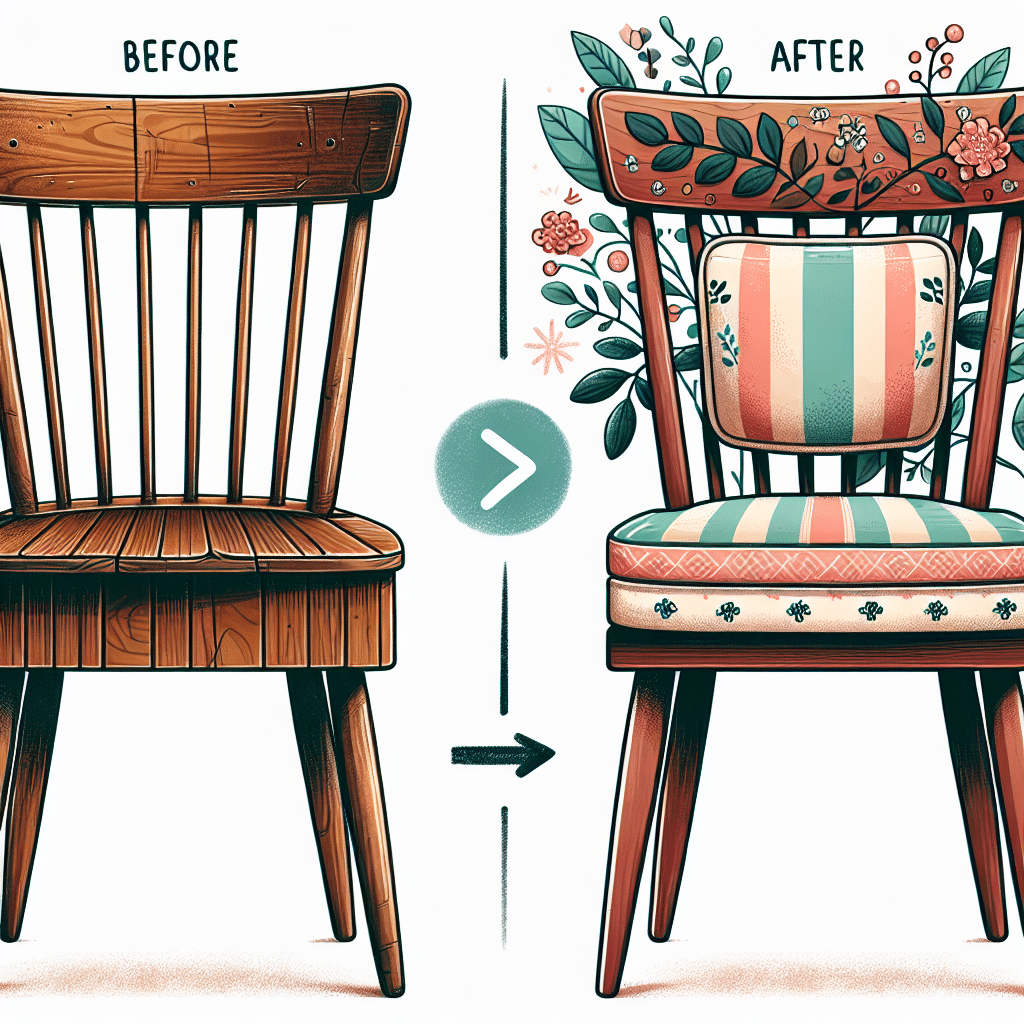
Wooden chairs are more than just functional furniture; they can be a perfect canvas for creativity and style. With some thoughtful design elements, even the most ordinary wooden chairs can be transformed into stunning décor pieces that enhance your living space. From retro to modern styles, the possibilities are endless. Embracing the natural beauty of wood allows you to bring in various aesthetics, including rustic, minimalist, and even eclectic vibes.
Assessing Your Wooden Chairs
Before starting the transformation process, evaluate the current state of your wooden chairs. Look for signs of wear and tear like scratched surfaces, loose joints, or outdated finishes. This evaluation will help you understand the necessary steps for refurbishment.
Key aspects to look out for:
- Surface Condition: Check for dents, scratches, and water stains.
- Structural Integrity: Ensure that the joints are secure and the chair is stable.
- Style Compatibility: Identify the existing design, whether it’s contemporary, traditional, or vintage, to choose complementary elements.
Preparation and Supplies
Gather your materials before diving into the transformation. Basic supplies typically include:
- Sandpaper (varying grits: coarse, medium, and fine)
- Wood stain or paint
- Clear varnish or polyurethane (for sealing)
- Brushes or paint rollers
- Primer (for painted finishes)
- Upholstery materials (if reupholstering)
- Decorative elements (like stencils, decals, or fabric)
Tools Required
Certain tools make the transformation process smoother:
- Screwdriver
- Paint stripper (if the previous finish needs removal)
- Sander (orbital sanders can save time)
- Staple gun (for upholstery)
- Foam brushes (for precision application of stain or paint)
Step by Step Guide for Transformation
Step 1: Clean and Sand
Begin by cleaning the chairs thoroughly to remove dust and grease. Use a damp cloth followed by a wood-safe cleaner. Once cleaned, secure the chair and start sanding:
- Coarse Sanding: Use coarse grit sandpaper (60-80) to remove old finishes and imperfections.
- Smooth Sanding: Follow up with medium grit (120) and then fine grit (220) to prepare for finishing.
- Clean Dust: After sanding, wipe down with a tack cloth to eliminate dust.
Step 2: Repair Damages
If you observe any structural issues, now is the time to address them. Tighten loose screws and joints or apply wood glue where necessary. For deeper scratches or dents, consider using wood filler to create a smooth surface.
Step 3: Staining or Painting
Choose whether to stain or paint based on the desired look:
-
Staining: A wood stain will enhance the natural grain and color of the wood.
- Apply with a brush or cloth in the direction of the grain.
- Wipe off excess stain to avoid a sticky finish.
- Allow the stain to dry completely before applying a topcoat.
-
Painting: If opting for paint, you may choose a solid color for a bold statement or a delicate pastel for a softer look.
- Apply a primer if the wood is raw to ensure better adhesion.
- Use smooth strokes for an even application and let each coat dry fully between applications.
Step 4: Sealing Your Work
After staining or painting, protect your wooden chairs with a clear varnish or polyurethane. This step is crucial for durability and visual appeal.
- Apply a thin layer using a foam brush: This helps to minimize brush strokes.
- Sand between coats: Lightly sand with fine-grit sandpaper after each coat of poly to create an ultra-smooth finish.
- Total Coats: Aim for 2-3 coats of sealer for maximum protection.
Adding Upholstery
If you wish to enhance comfort, consider reupholstering the chairs. This can be an excellent way to incorporate bold patterns or vibrant colors that reflect your personal style.
Selecting Fabrics
Choose a durable fabric suited for everyday use. Some popular choices for upholstery include:
- Cotton: Offers versatility and is easy to clean.
- Leather: Provides a classic, luxurious touch.
- Linen: Great for a natural, casual look.
- Microfiber: Perfect for homes with pets due to its stain resistance.
The Upholstery Process
- Remove Old Upholstery: Use a staple remover to take off the old fabric and cushioning.
- Cut New Fabric: Cut your new fabric to size, allowing extra material for proper fastening.
- Attach New Foam: If needed, replace the cushion with new upholstery foam, cutting it to match the chair’s seat.
- Staple Fabric Down: Begin at the center of each side, affixing the fabric tightly and evenly until all corners are secured.
- Trim excess fabric: Leave a little extra for future adjustments.
Decorative Elements
You can further elevate the style of your transformed chairs with decorative elements that suit your theme.
Stencils and Decals
Add unique designs using stencils or decals. They can be applied directly to the surface, offering a personalized touch.
- Use painter’s tape to secure the stencil.
- Apply a contrasting color for a pop against the base color.
Cushions and Throws
Accessorizing with cushions can bring color, warmth, and comfort. Mixing different textures and patterns can create an inviting atmosphere.
- Choose patterns: Combine geometric, floral, or solid colors.
- Layering textiles: Use throw blankets for added style and coziness.
Displaying Your Transformed Wooden Chairs
Once your chairs have been transformed into chic decorative pieces, consider where to showcase them for maximum impact.
Living Room Arrangement
Group chairs around a coffee table to create a cozy seating area. Mix different heights and styles to add visual interest.
Outdoor Spaces
If the chairs are suitable for outdoor use, carry your style into your garden or patio. Weather-resistant paints and finishes will help maintain their appearance.
Entryway Feature
Position a transformed wooden chair beside a console table in your entryway for a functional yet stylish approach.
Conclusion (not to be included)
This transformation process turns neglected wooden chairs into valuable elements of home décor. Each step not only revitalizes the chairs but also reflects your personal style, making your space uniquely yours. Embrace the possibilities, and enjoy the rewarding journey of DIY design.