Transforming Wooden Chairs into Unique Pet Beds
Creating a unique pet bed from an unused wooden chair is an innovative way to repurpose furniture while providing your beloved pets with a cozy, stylish place to rest. The project not only showcases your creativity but also demonstrates sustainability by reusing materials. Here’s a step-by-step guide for transforming wooden chairs into charming pet beds that cater to the needs of your furry companions while fitting seamlessly into your home decor.
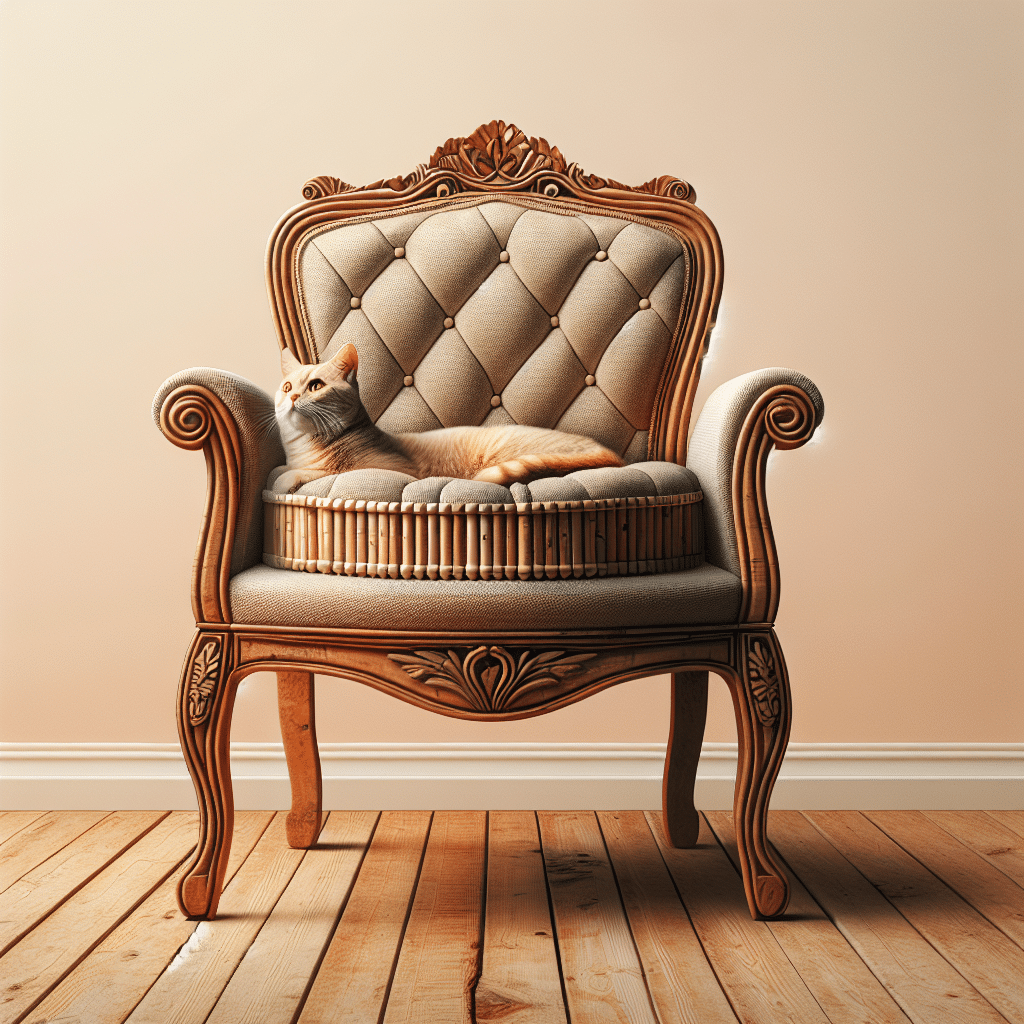
Selecting the Right Chair
When undertaking this project, choosing a suitable chair is crucial. Look for sturdy wooden chairs that have a solid frame with a wide seat. Avoid chairs that are too tall, as they might be challenging for smaller pets to access. Key characteristics to consider include:
- Size: Ensure the seat area is spacious enough for your pet to curl up comfortably.
- Height: A chair with a lower height is easier for pets to enter and exit.
- Condition: Check for damage or weak joints; repairable chairs can add character, but avoid those that are beyond saving.
Tools and Materials Needed
Equipping yourself with the right tools and materials is essential for a smooth transformation. Here’s a list of what you’ll need:
-
Tools:
- Screwdriver
- Sandpaper or electric sander
- Saw (for cutting off the legs if needed)
- Drill
- Paintbrush (if painting)
-
Materials:
- Wooden chair
- Foam cushion or mattress pad
- Fabric (for covering the cushion)
- Non-toxic paint or wood stain (optional)
- Upholstery tacks or strong adhesive (for fabric attachment)
Preparing the Chair
-
Disassembly (Optional): If necessary, remove components that might hinder the project’s outcome, such as the seat or back, especially if you want to change the shape. This can make it easier to construct the bed.
-
Sanding: Sand the surfaces to eliminate rough edges, splinters, and old finishes. A smooth surface is safer and more inviting for your pet.
-
Painting/Staining: Apply a non-toxic paint or stain to enhance the look of your chair. Choose colors that complement your home décor and ensure they are pet-safe.
-
Protecting the Wood: Once the paint or stain has dried, consider sealing the wood with a clear non-toxic sealant to protect it from scratches and stains.
Cushioning the Pet Bed
-
Measuring the Seat: Measure the dimensions of the seat area. This will guide you in cutting the foam or choosing the proper mattress pad.
-
Cutting the Foam: If using foam, trim it to fit the chair’s seat precisely. High-density foam offers optimal comfort and support for your pet.
-
Encasing the Foam: Cut your chosen fabric into a size that can wrap around the foam comfortably. Leave extra material to fold under the cushion. Consider using durable, washable fabric like canvas or upholstery fabric for longevity.
-
Attaching the Fabric: Secure the fabric over the foam using upholstery tacks or adhesive. Ensure a snug fit and smooth surface to avoid any wrinkles or discomfort for your pet.
Customizing the Pet Bed
Adding personalized touches to your chair pet bed can make it more appealing and cozy for your furry friend. Consider these ideas:
-
Name Embroidery: Personalize the cover with your pet’s name by embroidering it directly onto the fabric or adding an iron-on transfer.
-
Pillow Addition: Create or purchase small decorative pillows to enhance comfort and style. Ensure they are non-toxic and pet-friendly.
-
Removable Cover: For ease of maintenance, consider making a removable cover that can be washed. Secure it with Velcro or zippers.
-
Warm Blankets: Consider including a soft blanket or throw that your pet can snuggle into. Choose materials that are machine washable for easy care.
Safety Considerations
While creating a pet bed from a wooden chair is enjoyable, ensuring your pet’s safety must be a priority. Here are some tips:
-
Stability: Make sure that the chair is sturdy, has no wobbling parts, and can support your pet’s weight without tipping over.
-
Non-Toxic Materials: Always use pet-safe paints, foams, and fabrics. Check for any harmful chemicals, especially in treated woods.
-
Rounded Edges: If possible, opt for rounded edges to avoid injury. You can also add corner protectors if your chair features sharp corners.
Maintenance Tips
To maintain the beauty and functionality of your chair pet bed:
-
Regular Cleaning: Vacuum the cushion regularly to remove pet hair and debris. Wash the cushion cover and blankets according to the fabric care instructions.
-
Check Hardware: Periodically inspect screws and joints to ensure they remain secure. Tighten as necessary to keep the structure stable.
-
Routine Inspection: Look for any signs of wear and tear. Replace or repair parts as needed to ensure your pet’s safety.
Finding Inspiration
For some creative ideas, explore online platforms like Pinterest or Instagram, where pet owners showcase their own transformations. These platforms can provide color schemes, fabric choices, and unique design styles to inspire your project.
By repurposing an old wooden chair into a unique pet bed, you not only create a functional item but also infuse your living space with personality and warmth. The result is a delightful place for your pet to lounge, reflecting both your individual style and consideration for your furry friend.