Upcycling Wooden Chairs: Crafting Decorative Wall Art
Understanding Upcycling
Upcycling is the creative process of transforming discarded items into something of value or beauty. In the realm of home décor, upcycling wooden chairs offers a unique opportunity to repurpose furniture that may otherwise end up in landfills. By turning these chairs into decorative wall art, you can add a personal touch to your living space while practicing sustainability.
Benefits of Upcycling Wooden Chairs
-
Sustainability: Upcycling reduces waste and promotes eco-friendly practices by giving new life to unwanted furniture.
-
Cost-Effective: Transforming old chairs into art can be more affordable than buying new décor pieces, especially when using materials you already have.
-
Personalization: Upcycled art pieces can be customized to reflect your personal style, making each piece uniquely yours.
-
Creativity: This process stimulates creativity, encouraging you to think outside the box and explore various design options.
Selecting the Right Wooden Chairs
When choosing wooden chairs for upcycling, look for pieces that have a solid structure and an appealing shape. Vintage chairs with intricate designs or unique styles can add character and aesthetic value to your wall art. Inspect for:
-
Wood Quality: Solid wood chairs, like oak or walnut, are preferable. Avoid those made of particleboard or inexpensive composites.
-
Condition: Check for any damage. Minor scratches or dents can easily be repaired, while severe structural issues may render a chair unsuitable.
-
Style and Design: Minimalist designs can serve as a blank canvas, while ornate styles can enhance elaborate wall art.
Necessary Tools and Materials
To ensure a successful upcycling project, gather the following tools and materials:
- Basic Tools: Screwdriver, saw, sandpaper, and a drill
- Painting Supplies: Paintbrushes, spray paint, or roller; choose non-toxic and eco-friendly options.
- Decorative Elements: Fabric, stencils, mosaic tiles, or wallpaper for embellishment
- Wall Mounting Supplies: Brackets or picture-hanging kits for secure mounting
- Protective Gear: Gloves, goggles, and a mask to ensure safety while working.
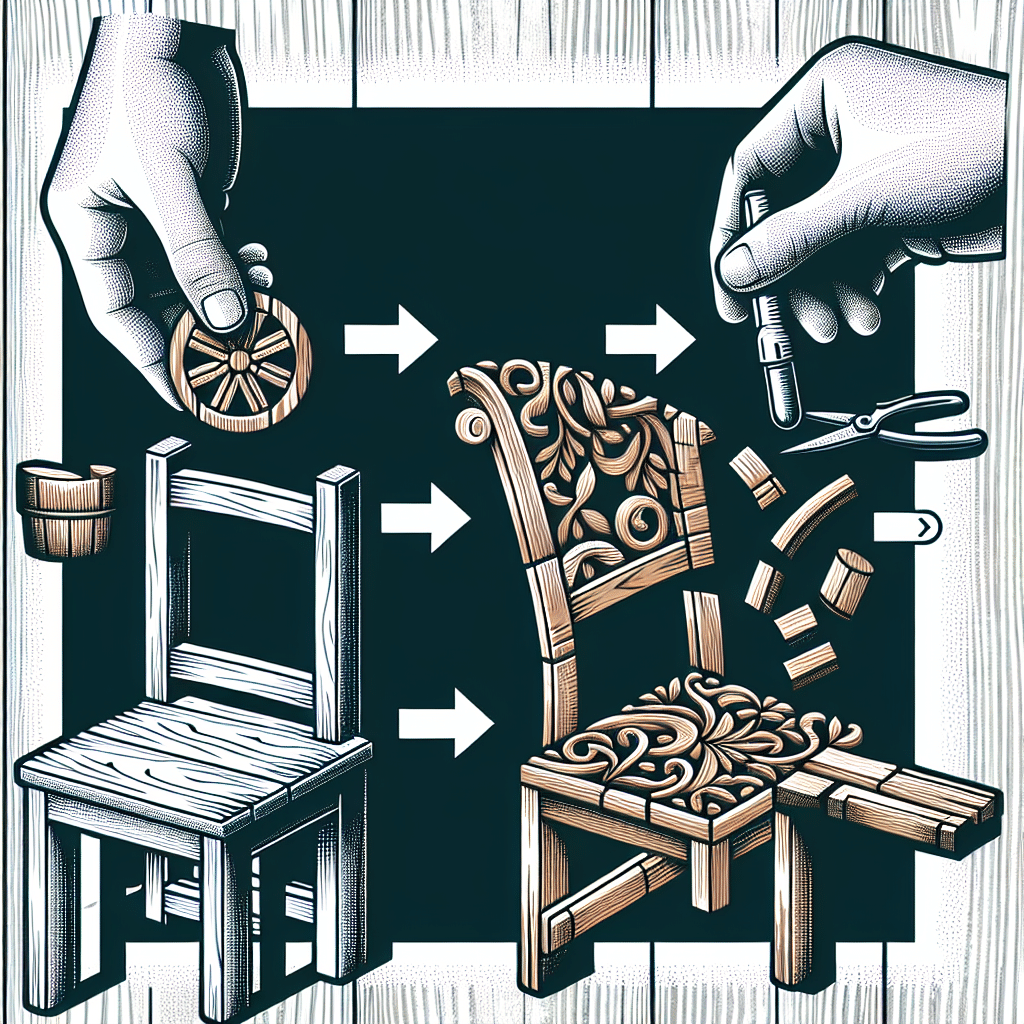
Step-by-Step Process to Create Wall Art
Step 1: Preparation
Begin by removing any upholstery or cushions from the chairs. If present, take out screws or nails carefully. Clean the chair thoroughly with soap and water, followed by a light sanding to remove any old finish, dirt, and grime. This will help paint and other decorative elements adhere better.
Step 2: Design Concept
Consider the final look you want to achieve. You might choose a rustic farmhouse aesthetic, a modern minimalistic style, or vibrant pop-art effects. Sketch your ideas on paper or use software to visualize your design.
Step 3: Painting Techniques
Using your chosen paint, apply a base coat to the chair. You can go for a solid color, or create an ombre effect, or even use multiple colors to highlight distinct sections of the chair. Stencils are great for adding intricate patterns. Always allow each coat of paint to dry completely before adding additional layers.
Step 4: Embellishing
Once the paint is dry, consider adding decorative elements. Fabric can be strategically placed on the chair, or apply decoupage techniques using ripped pieces of wallpaper or vintage newspapers. For an eclectic look, mosaic tiles can be affixed to parts of the chair, bringing a textured contrast.
Step 5: Assembly and Mounting
Reassemble any removable parts of the chair that you want to keep—like arms or backs. Secure them in place to maintain stability. Use brackets or a picture-hanging kit to mount your finished piece onto the wall. Make sure to drill into the wall studs for a secure fit.
Step 6: Final Touches
Add final touches such as framing with wooden slats or installing LED lights for illumination. This can create an ambient glow around your piece, making it a focal point in your space.
Creative Ideas for Upcycling Wooden Chairs
-
Chair Silhouette: Use the chair back and legs arranged in a creative layout to create a striking silhouette.
-
Ornamental Wall Hooks: Transform the chair into a beautiful wall hook for hanging coats, hats, or bags by creatively arranging parts and adding hooks to the base.
-
Mosaic Art: Use broken tiles or glass pieces to cover a section of the chair creating a stunning mosaic effect.
-
Memory Board: Attach corkboard or chicken wire to the chair back for displaying photos, notes, or art.
-
Vertical Garden Art: Transform a chair into a vertical garden by attaching small pots or planter boxes to its frame for an eye-catching green display.
Maintenance of Upcycled Art
To keep your upcycled wall art looking fresh, avoid hanging it in direct sunlight to prevent fading. Dust it regularly and check for any signs of wear. If any part starts to deteriorate, decide whether to restore it or repurpose it into another project.
Selling Upcycled Art
If you have a knack for creating beautiful wall art, consider selling your pieces. Online platforms like Etsy or local craft fairs provide excellent venues to showcase your creations. Ensure to utilize keywords related to upcycling, wooden chairs, and home décor to enhance visibility.
Conclusion
The journey of upcycling wooden chairs into decorative wall art is not only rewarding but also an environmentally conscious practice. It fuels creativity and helps you craft personalized pieces that rejuvenate your living space. By following the steps outlined in this guide and utilizing your imagination, you can transform ordinary wooden chairs into extraordinary art that speaks to your aesthetic and sustainability ethos.